Stargazer lilies grow best in USDA hardiness zones 4 through 9, in a spot with full sun to light partial shade, well-drained slightly acidic soil, and roots that stay cool and moist but never waterlogged. That's the short answer. If your garden checks those boxes, you're in great shape. If it doesn't, there are real fixes, including containers and mulch tricks, that can still get you there. Let me walk you through all of it.
Where Do Stargazer Lilies Grow Best? Zones and Care Guide
Marcus Hendricks
12 Apr 2026
Where Stargazers actually come from
Stargazer is a hybrid cultivar, officially listed as Lilium 'Stargazer', developed in 1978 by lily breeder Leslie Woodriff. It belongs to the Oriental hybrid group, which means its genetics trace back primarily to East Asian species: Lilium auratum and Lilium speciosum are the big two, along with several other species native to Japan including Lilium nobilissimum, Lilium rubellum, Lilium alexandrae, and Lilium japonicum. Japanese horticultural records actually document extensive breeding and production of these Lilium species, so the cultural knowledge behind Stargazers runs deep.
Why does this matter for where you grow them? Because those parent species live in cool mountain forests and rocky hillsides in Japan and China, where the air is warm and sunny above ground, but the soil stays cool and loose and drains quickly. That's not a random preference, it's baked into their DNA. Recreate those conditions, even roughly, and Stargazers thrive. Fight them and you'll struggle.
Climate and hardiness: which zones actually work
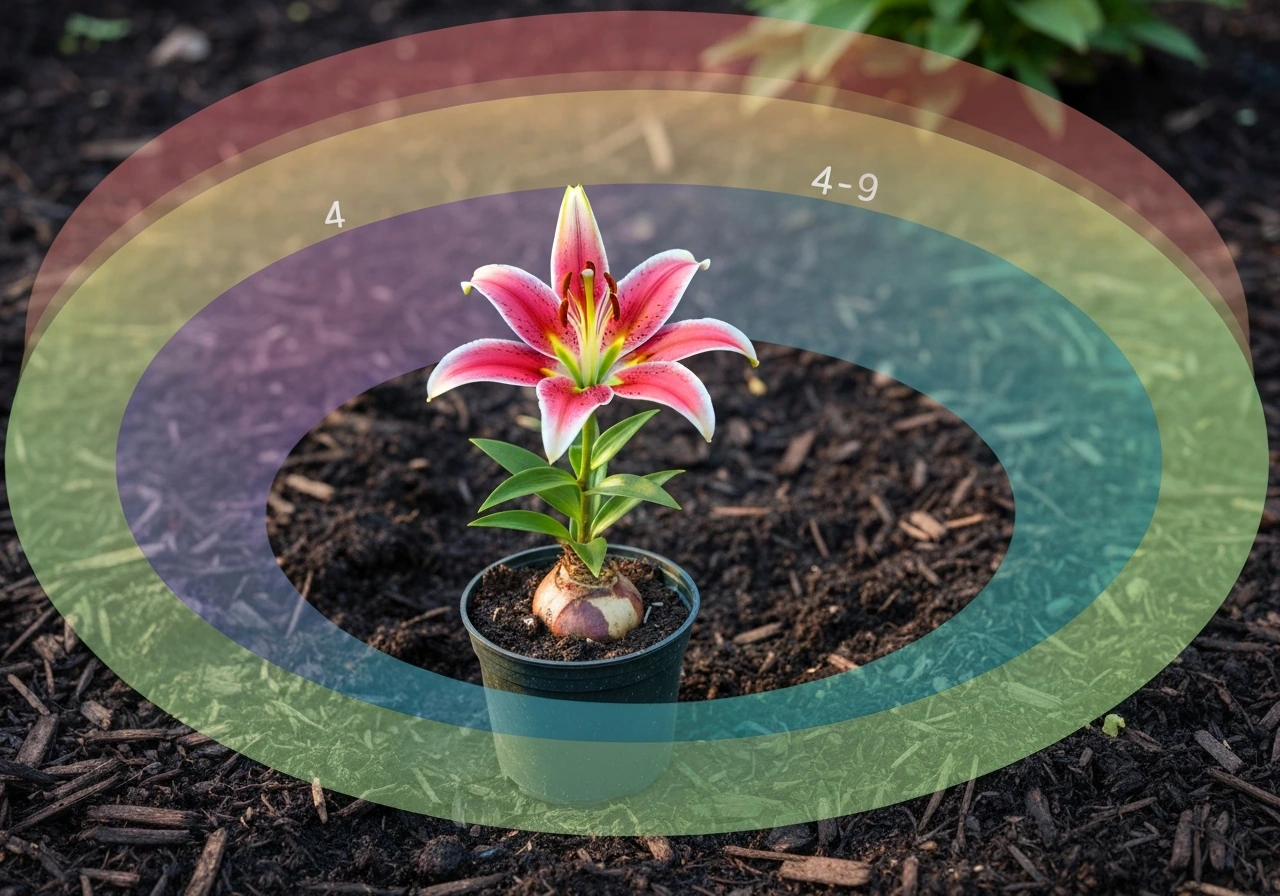
Stargazer lilies are reliably hardy in USDA zones 4 through 9. In zones 4 and 5, the bulbs overwinter in the ground just fine as long as you give them a few inches of mulch before the first freeze. In zones 6, 7, and 8, they're some of the easiest bulbs you can grow, returning year after year with very little fuss. Zone 9 is where it starts getting tricky because of summer heat and mild winters. The bulbs need a cold period to reset and bloom well, and in the hottest parts of zone 9, that chill isn't always reliable.
If you're in zone 10 or warmer, growing Stargazers as perennials outdoors becomes genuinely difficult. You can sometimes treat them as annuals and replant fresh bulbs each season, or refrigerate bulbs for 6 to 8 weeks before planting to simulate the cold period they need. If you're specifically wondering about warm-state gardening, growing Stargazer lilies in Florida comes with its own set of challenges worth understanding before you buy a bag of bulbs.
On the cold end, zone 3 gardeners can sometimes succeed by digging bulbs in fall, storing them indoors over winter, and replanting in spring, though it's more work. Most growers in zone 3 find the effort worthwhile because the blooms are so spectacular. For a broader look at where Oriental and other lily types succeed across the country, what zone do lilies grow in covers the full picture across multiple species.
Sun and site: indoors vs. outdoors
Outdoors, Stargazer lilies want at least 6 hours of direct sun per day. Eight hours is even better. They'll tolerate light afternoon shade, especially in zones 7 and above where summer heat is intense, but they need that morning sun to build strong stems and bloom reliably. A spot with full morning sun and dappled shade after 2 or 3 p.m. is actually close to ideal in hot climates.
Indoors is a different story. Stargazers are not naturally good houseplants for long-term growth, but they're popular as cut flowers and potted blooming plants. If you're growing them in a pot inside, place them directly in the sunniest window you have, ideally a south-facing one. A spot that gets fewer than 4 hours of direct indoor light usually leads to leggy stems and buds that fail to open fully. If you want to keep Oriental lilies going indoors, how to grow oriental lilies inside gives you the practical setup for making that work without wasting bulbs.
One thing people often get wrong is planting Stargazers in full shade because they look delicate. They're not shade plants. The flowers are fragile but the plant is sun-hungry. Shade leads to thin, flopping stems, reduced blooms, and bulbs that slowly decline over a few seasons.
Soil and drainage: get this right first
Stargazer lilies need loose, well-drained soil with a slightly acidic pH, ideally between 5.5 and 6.5. They absolutely cannot sit in waterlogged soil. The bulbs rot quickly when drainage is poor, and unlike some plants that give you a slow decline, a Stargazer bulb in soggy soil can be dead within a few weeks.
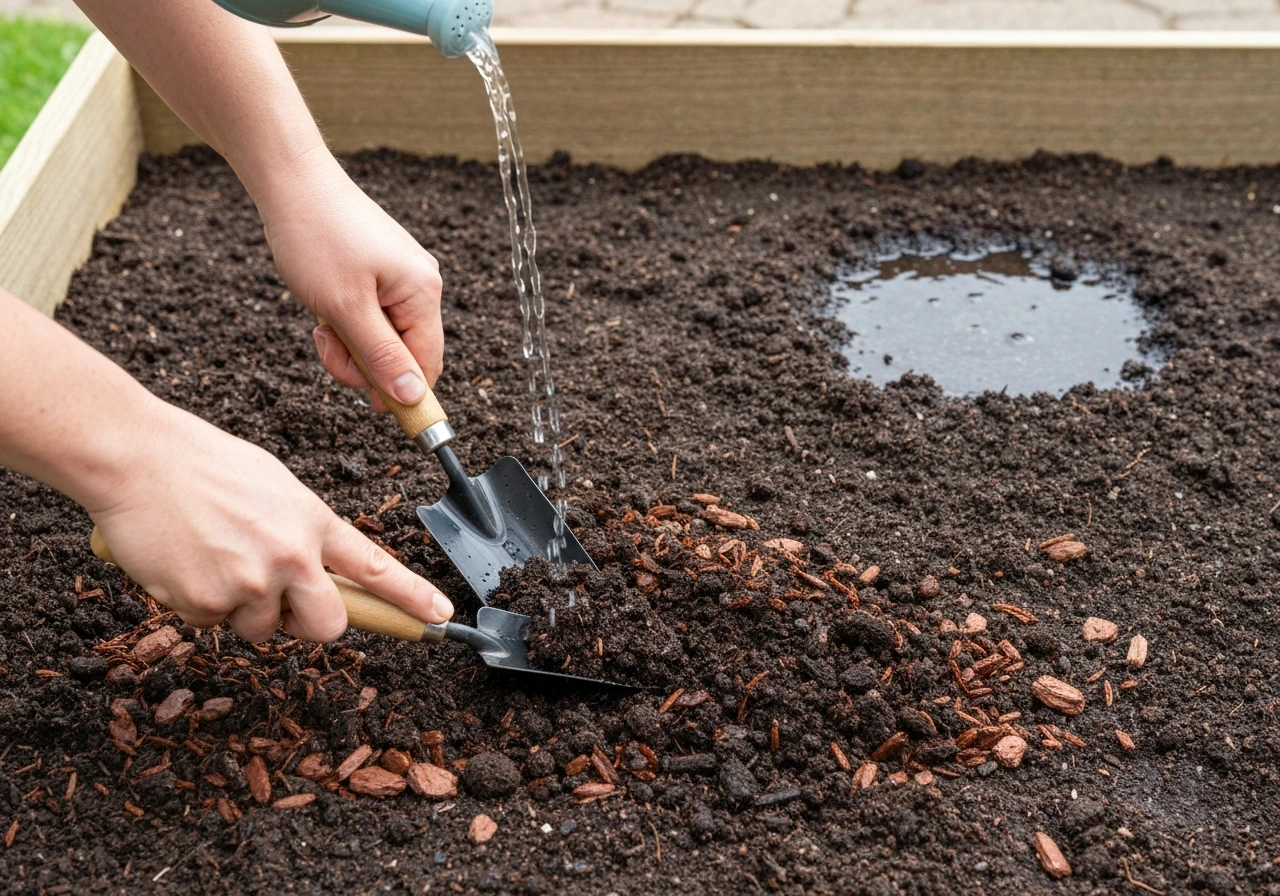
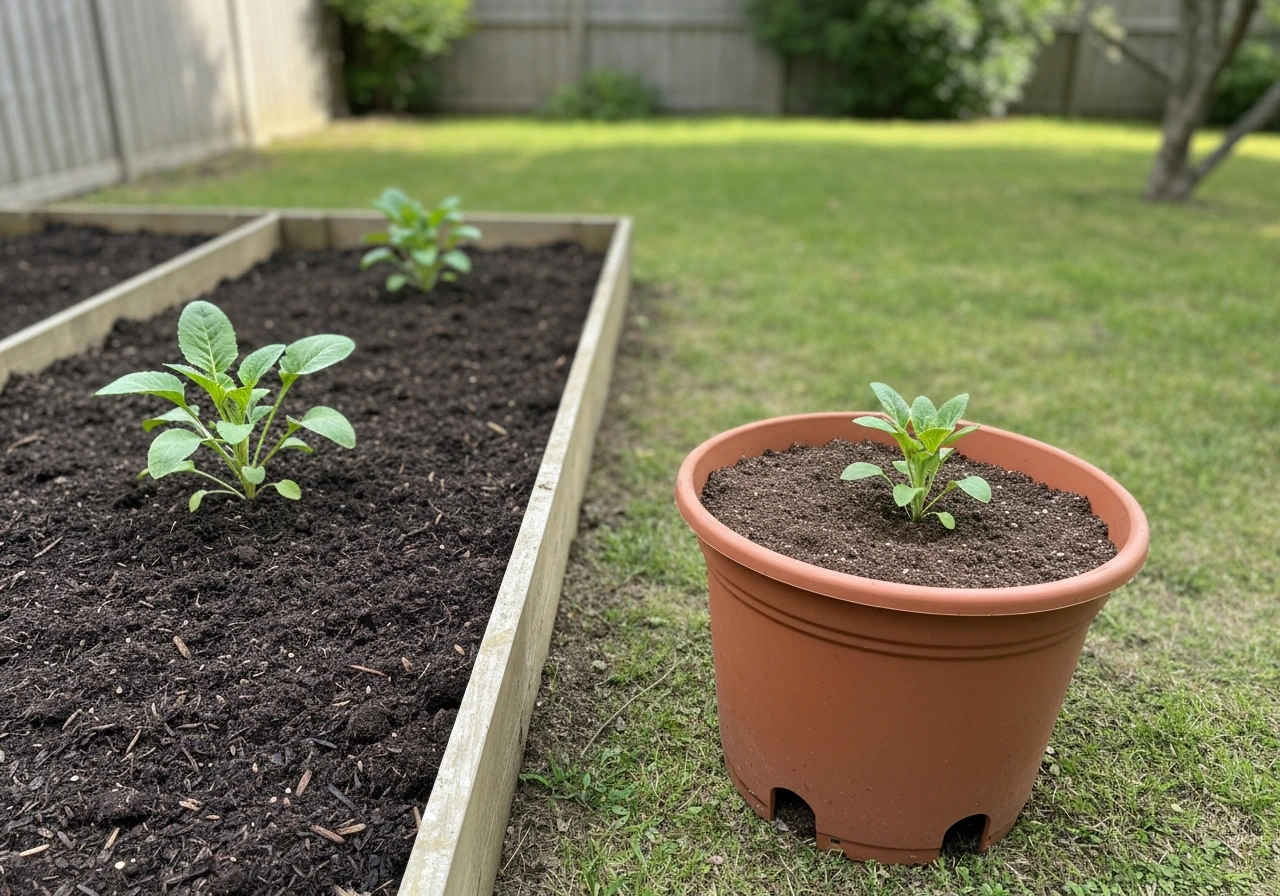
If your native soil is heavy clay, you have two real options. The first is to amend deeply, working in generous amounts of compost, coarse sand, and perlite to a depth of at least 12 inches before planting. The second, honestly easier option, is to use a raised bed or large container filled with a mix you control. I've had my best results with a blend of two parts quality garden soil, one part compost, and one part perlite. It drains fast but holds enough moisture to keep the bulbs happy.
Sandy soil at the other extreme drains too fast and dries out quickly. If that's what you're working with, add compost to improve moisture retention, but don't go overboard. You want soil that drains within an hour or two of a soaking rain, not soil that holds water for six hours, and not soil that dries out bone-dry within a day.
Watering and the biggest mistakes growers make
Water Stargazer lilies deeply and then let the top inch or two of soil dry out before watering again. During active growth in spring and early summer, that typically means watering every 5 to 7 days in moderate climates, or every 3 to 4 days during a heat wave. After blooming, as the foliage begins to die back naturally, you can reduce watering significantly.
The two most common mistakes are overwatering and heat stress. Overwatering is the more dangerous one. If the soil stays wet for days at a time, the bulb suffocates and rots. The symptoms, yellowing leaves and soft mushy stems at the base, often show up after the damage is already done. The fix is better drainage before planting, not adjusting your watering schedule after the fact.
Heat stress is subtler. Stargazers want their roots cool even when the flowers are basking in sun. A thick layer of mulch, 2 to 3 inches of shredded bark or straw around the base, makes a huge difference. It keeps soil temperatures several degrees cooler and dramatically reduces moisture evaporation. I learned this the hard way after losing a beautiful stand of Stargazers during a brutal July in zone 7. They looked perfect going into the heat wave and were wilting badly by the end of the week. Mulch fixed that completely the following year.
How to pick the right spot, step by step
Choosing the right location is really about matching what Stargazers need against what your yard or container setup offers. Here's a simple process to work through before you ever dig a hole:
- Check your USDA hardiness zone first. Zones 4 through 9 are your target. If you're outside that range, decide whether you're willing to treat them as annuals or dig bulbs seasonally.
- Observe sun exposure in your candidate spot for one full day. You need at least 6 hours of direct sun, with morning hours counting the most.
- Do a simple drainage test: dig a hole about 12 inches deep, fill it with water, and watch how long it takes to drain. If it drains in under 2 hours, you're good. If it takes 6 or more hours, you need to amend the soil or switch to a raised bed.
- Check your soil's pH if you can. A basic soil test kit from any garden center works fine. Aim for 5.5 to 6.5. If it's too alkaline, work in sulfur or acidic compost.
- Plan for mulch. Before you plant, have 2 to 3 inches of shredded bark or straw ready to lay around the planting area to protect roots from heat.
- Consider proximity to walls or pavement. Reflected heat from concrete or brick can push soil temperatures too high. Give Stargazers at least 18 to 24 inches of buffer from any heat-reflecting surface.
If outdoor conditions just don't line up in your space, containers are a genuinely good option. A pot at least 12 inches deep and 12 inches wide gives a single bulb enough room. Terracotta pots work beautifully because they breathe and help prevent waterlogging. You can move them to follow the sun or bring them inside if a hard freeze is coming. Whether Stargazer lilies can grow outside in your specific setup is often a question of container flexibility as much as raw climate.
Comparing outdoor ground planting vs. containers
| Factor | In-Ground Planting | Container Planting |
|---|---|---|
| Best for zones | 4–9 with stable winters | Any zone, especially 9–10 or zone 3 |
| Drainage control | Depends on native soil; needs amendment if clay | Full control with your own mix |
| Root cooling | Easier with mulch over a large area | Pots heat up faster; may need shade on pot itself |
| Overwintering | Bulbs stay in ground with mulch (zones 5–9) | Bring indoors or store bulbs in a cool dry spot |
| Watering | Less frequent; soil retains more moisture | More frequent; pots dry out faster |
| Long-term perennial return | Best option for reliable comeback blooms | Good if bulbs are stored properly each winter |
| Flexibility | Fixed location | Move to follow sun or protect from weather |
For most gardeners in zones 5 through 8, in-ground planting wins for simplicity and long-term performance. For gardeners in warmer or colder extremes, containers give you the control you need to make it work. The key takeaway is that neither method is wrong, it's about matching the method to your climate reality.
Buying bulbs and timing your planting
Stargazer bulbs are typically available from garden centers and online retailers from late winter through spring. You want firm, plump bulbs with no soft spots, mold, or strong rotting odor. Bigger bulbs generally mean more blooms in the first season, so if you see size grades, go with the largest you can find.
Plant in spring once your soil has warmed to at least 60 degrees Fahrenheit and the threat of hard frost has passed. In zone 5, that's typically late April to mid-May. In zone 7, you might be planting in late March or early April. In zone 9, fall planting in October or November works well because the mild winter acts as the cooling period the bulbs need.
Plant bulbs 6 to 8 inches deep, with the pointed end facing up. Spacing them about 12 inches apart gives stems room to breathe and reduces competition. After planting, water well once, then hold off until you see signs of growth, usually within 2 to 4 weeks depending on temperature. It's tempting to water repeatedly while waiting, but patience here prevents rot.
One thing I always tell new growers: don't panic if the foliage emerges looking a bit rough in the first season. Bulbs often spend their first year establishing roots, and the blooms are sometimes smaller or fewer than in year two. By the second season, when the bulb has had a full cycle to settle in, you'll typically see the full performance that makes Stargazers so popular. This behavior is similar to what you'd see with where Easter lilies grow, another bulb type that rewards patience in the first year.
What to expect after planting
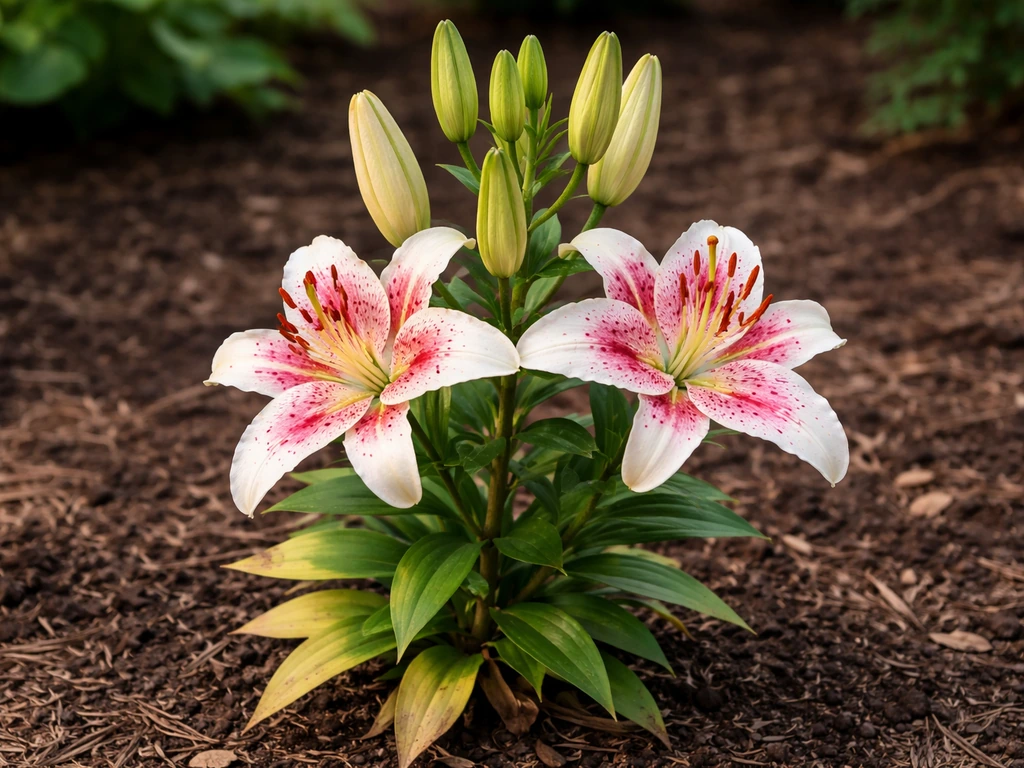
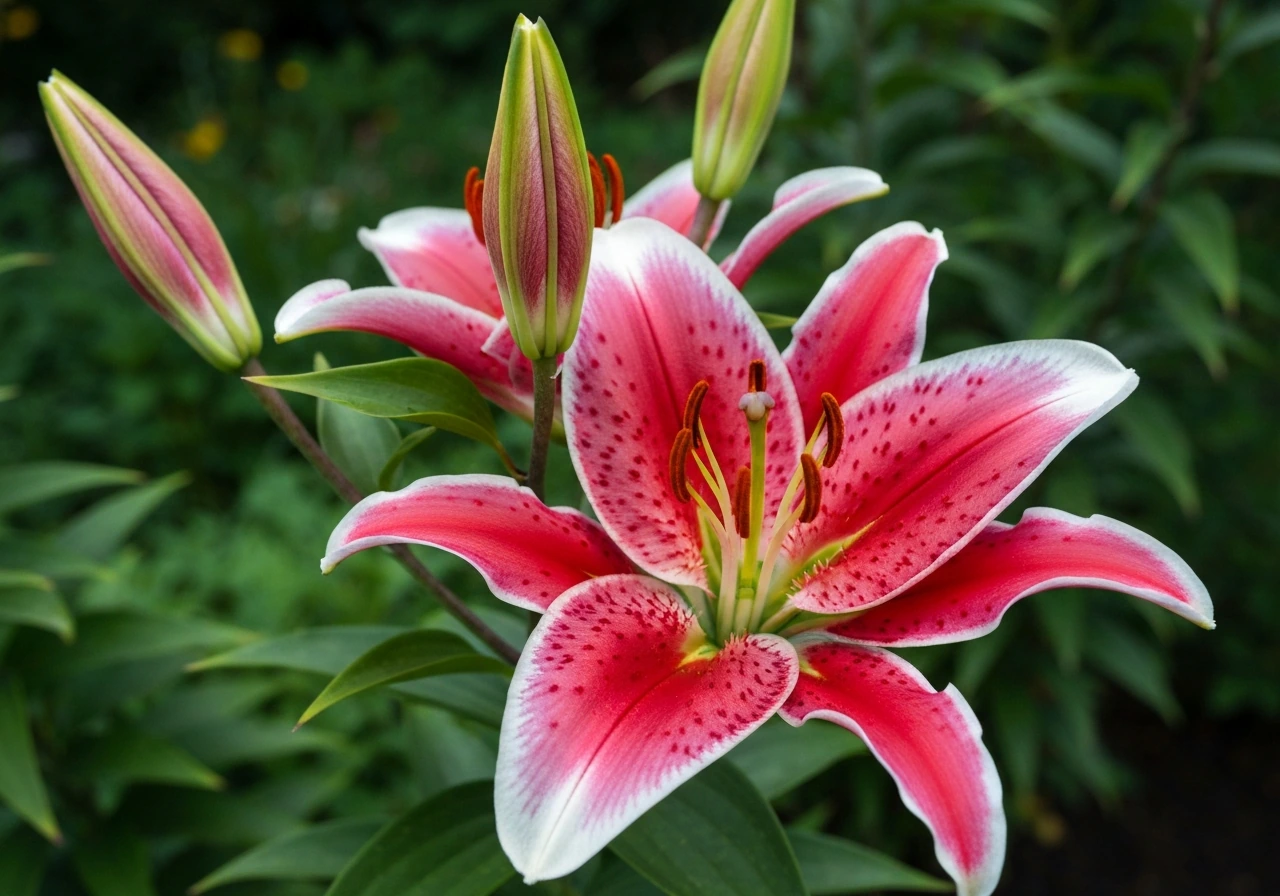
Once established, Stargazer lilies bloom in mid to late summer, typically July or August depending on your zone and when you planted. Each stem can carry 3 to 9 buds, and the flowers open over a span of 2 to 3 weeks. The fragrance is intense and sweet, so keep that in mind when placing them near windows, patios, or sitting areas.
After blooming, leave the foliage in place until it yellows and dies back on its own, which usually takes 6 to 8 weeks after the last flower fades. The leaves are feeding the bulb for next year. Cutting them early weakens the bulb and reduces next season's blooms. Once the foliage is completely brown, you can cut it back to the ground and apply a fresh layer of mulch for winter protection.
If you're curious whether the same approach applies to other lily varieties you might want to grow alongside your Stargazers, whether lilies can grow outside covers the general outdoor requirements across the broader lily family. And if you're wondering about mixing in some Easter lilies nearby, checking whether Easter lilies will grow outside in your specific setup is worth doing before planting them together, since their timing and cold tolerances differ slightly from Orientals. For gardeners in the South specifically, knowing whether Easter lilies will grow in Florida gives a useful comparison point for managing heat-sensitive bulbs in warm climates.
The bottom line is this: Stargazer lilies are not fussy about perfect conditions, but they are specific. Get the zone, sun, drainage, and root temperature right, and they're one of the most rewarding plants you can put in a garden. Skip one of those elements and you'll fight them all season. Match those conditions and they'll come back bigger and better every year.
FAQ
If my garden is in USDA zone 9, how do I make sure Stargazer lilies still get enough “cold” to bloom?
In zone 9, the main fix is reliable chilling before and during planting. Plant in fall when possible, and in the hottest areas consider refrigerating bulbs for 6 to 8 weeks before you set them in the ground. Also use a thicker 2 to 3 inch mulch layer to keep the soil cooler around the bulb through spring.
Where do Stargazer lilies grow best indoors, and what window direction works even if I do not have a south-facing one?
For best results, place potted Stargazers in your sunniest window, aim for at least 4 hours of direct indoor sun and prefer strong morning light. If you only have east or west exposure, east often performs better because afternoon heat can push buds to stall or fail to open fully.
Can I grow Stargazer lilies outdoors in zone 4 without mulch every winter?
Mulch is the safety net for zone 4. A few inches before the first hard freeze helps prevent freeze-thaw cycles that can heave bulbs or damage tender new shoots. If you skip mulch, you may lose plants intermittently even if the bulbs are “hardy” on paper.
Is it safe to plant Stargazer lilies in low spots where water drains slowly after rain?
Usually no. Stargazers need fast-draining soil, waterlogged conditions can rot bulbs within weeks. If your yard naturally holds water, you should switch to a raised bed or container mix you control, or plant on a slight berm so excess water runs away from the bulb.
How deep should Stargazer lily bulbs be planted in containers versus in the ground?
In containers, use a pot depth of at least 12 inches and plant at the same general depth as in-ground, about 6 to 8 inches. The difference is that container soil dries faster, so check moisture more often and avoid letting the pot sit in saucers with runoff.
What should I do if my Stargazer lilies come up with weak, floppy stems even though they get sun?
Weak stems often point to either insufficient morning sun or soil that stays too wet. Verify you are getting at least 6 hours of direct light, and confirm drainage by feeling how quickly soil dries after watering. You can also improve stability with a light staking and by thinning competing plants around the bulb.
Why do Stargazer lilies decline after a couple of years in the same spot?
The most common causes are bulb crowding and root heat stress, plus drainage that gradually worsens as soil compacts. Loosen and refresh soil structure, keep mulch in place for cool roots, and consider lifting and dividing bulbs every few years if blooms get smaller or fewer.
Can I cut off Stargazer lily leaves right after the flowers fade to make the plant look tidy?
Avoid cutting foliage early. The leaves feed the bulb for next year, if you remove them before they naturally yellow you can reduce next season’s blooms. Wait until the foliage has fully died back, usually about 6 to 8 weeks after flowering, then cut to ground level.
What’s the best way to tell if my soil drains correctly before planting?
Do a simple test by soaking the area and watching how long it stays wet. Ideal drainage is for water to drain within about an hour or two after a soaking, if it remains wet for many hours you are likely to get bulb rot, especially in cool seasons.
Next Articles
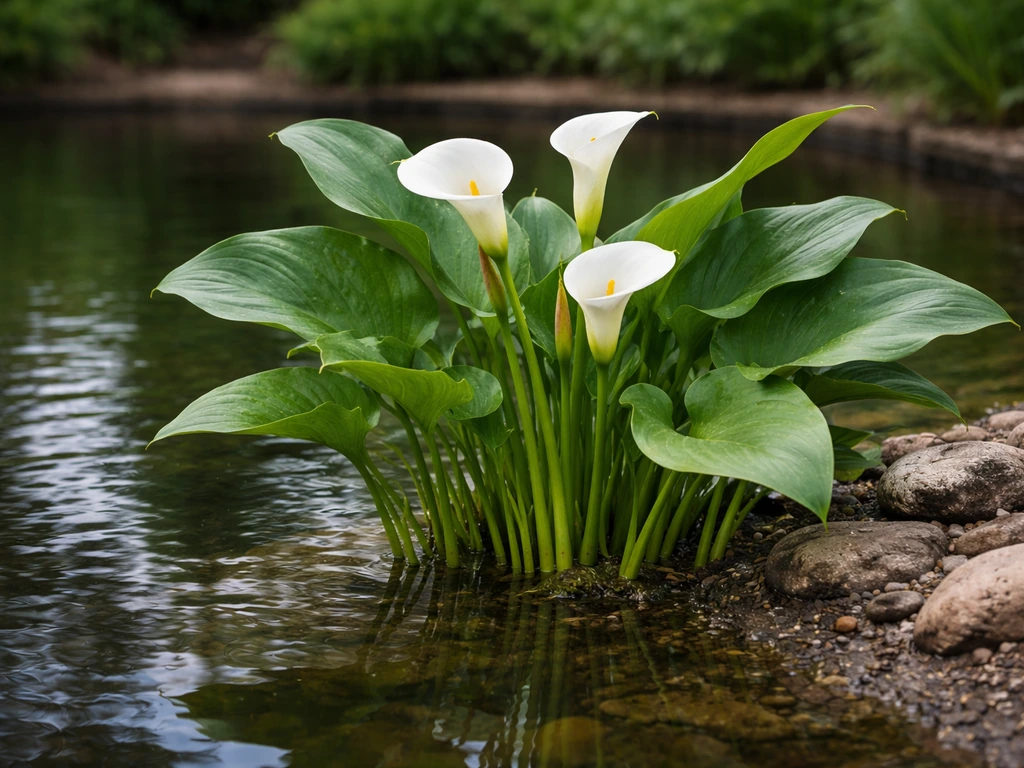
Can Calla Lilies Grow in Ponds? How to Set Up Successfully
Yes, with the right setup: water depth, substrate, anchoring, light, and overwinter care for pond or marginal calla lili
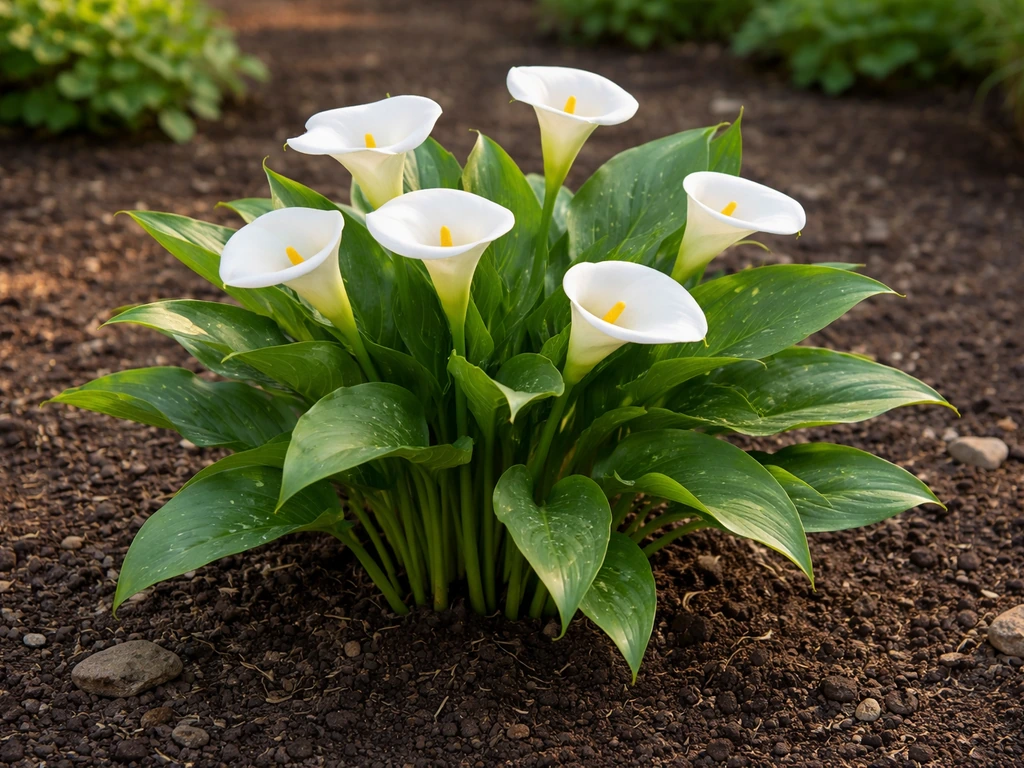
Are Calla Lilies Hard to Grow? Easy Guide for Success
Get a clear answer on are calla lilies hard to grow, plus exact light, temperature, watering, planting, and fixes.
Can Calla Lily Grow Outside? Outdoor Care by Climate
Yes, calla lilies can grow outside. Learn climate, light, soil drainage, planting timing, and fixes for no growth.