No, calla lilies are not hard to grow, but they are unforgiving if you get two specific things wrong: drainage and temperature. Get those right and you'll have gorgeous, long-lasting blooms with minimal fuss. Get them wrong and you'll end up with soggy, rotting rhizomes and a whole lot of disappointment. The good news is that once you understand what they actually need, the whole thing clicks pretty quickly.
Are Calla Lilies Hard to Grow? Easy Guide for Success
Marcus Hendricks
13 Apr 2026
First, let's clear up a common mix-up
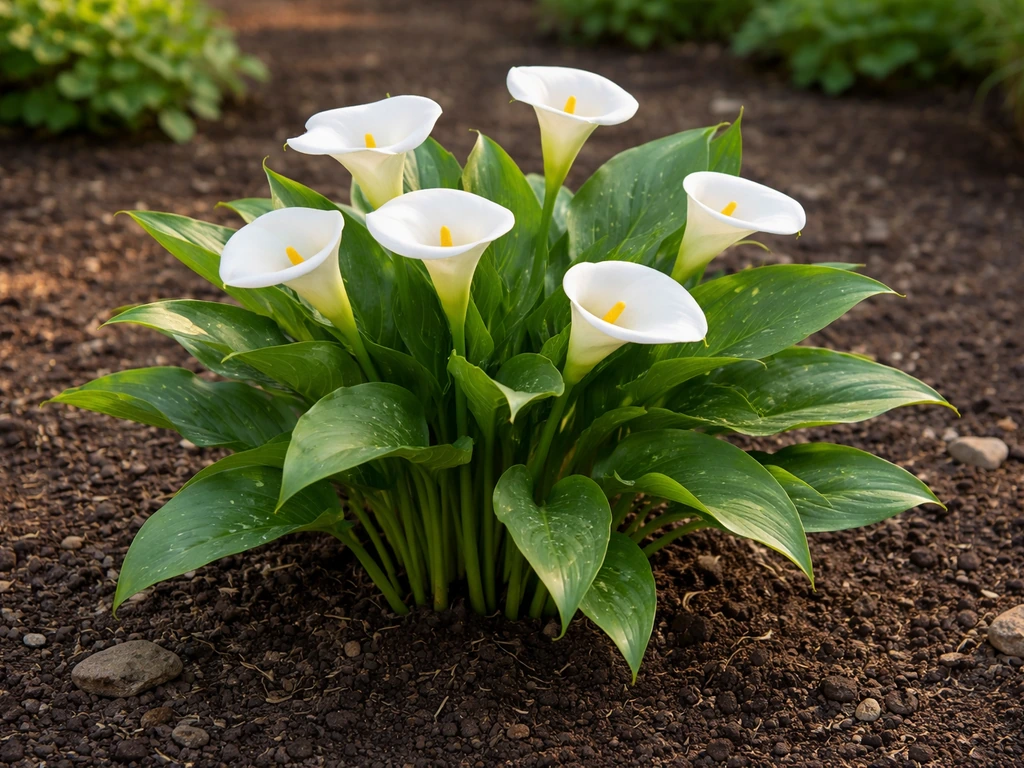
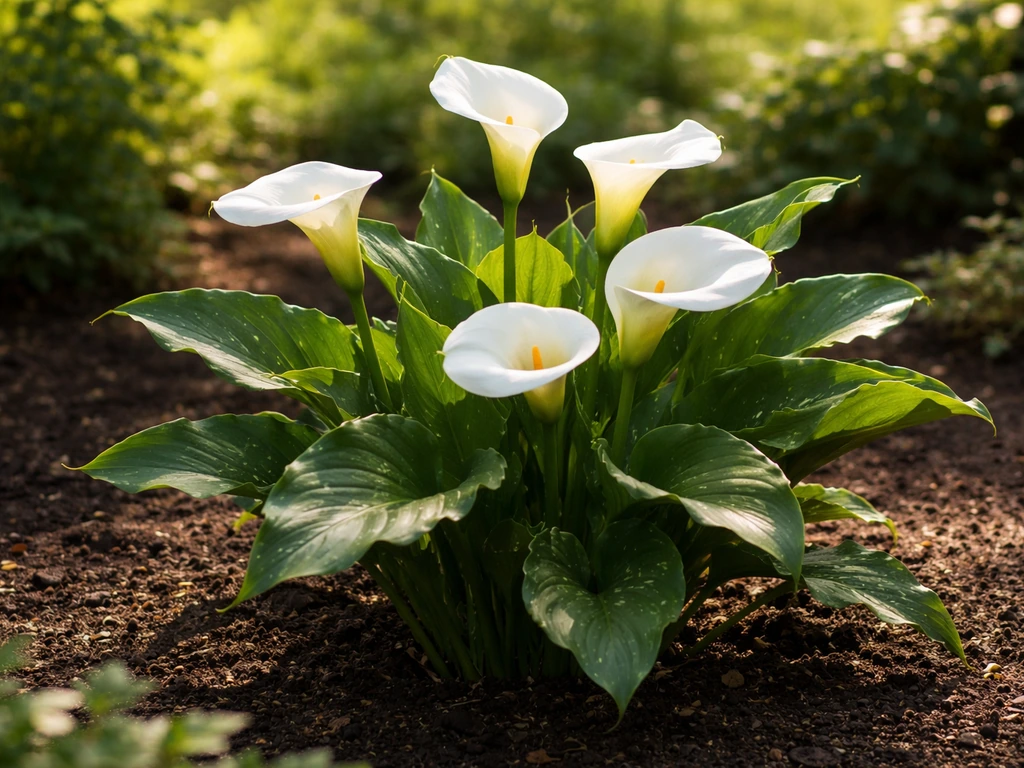
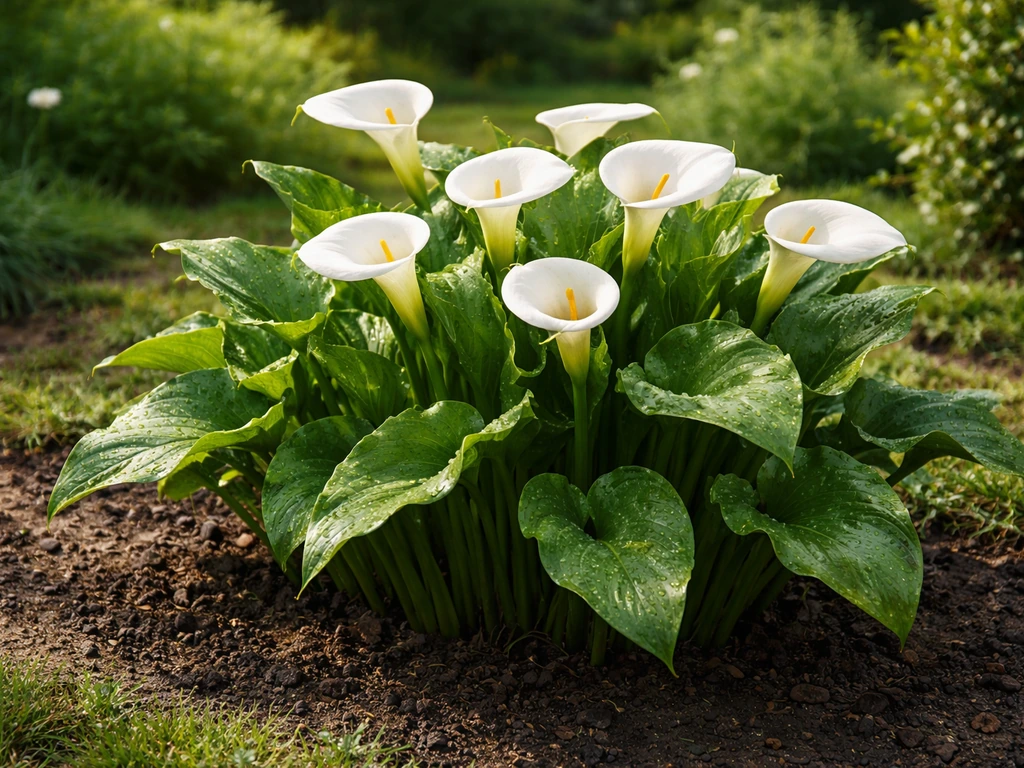
Before anything else, it's worth knowing that calla lilies (Zantedeschia) are not true lilies at all. They belong to the family Araceae, and they're not related to Lilium species (the classic Easter or Asiatic lily) or to peace lily (Spathiphyllum), which is a completely different Araceae genus of about 60 species. The three plants look superficially similar to a lot of people, but their care needs are genuinely different. A peace lily thrives in low indoor light and consistently moist soil. A calla lily wants bright light and soil that dries out a bit between waterings, especially when it's not actively growing. If you follow peace lily care advice for your calla, you will almost certainly rot it out. I've seen it happen repeatedly. Calla lilies are recognized by their funnel-shaped white or yellow spathe and a central yellow spadix, which is actually where the true flowers are clustered. Once you know what you're looking at, the ID is easy.
How hard are calla lilies compared to other plants?
Compared to peace lilies, callas are a bit more demanding because they have a dormancy cycle that confuses beginners. Compared to true Lilium lilies (like Asiatics), they're actually easier in many ways because you don't have to worry about deep winter cold killing them in the ground as long as you handle storage right. I'd rate them intermediate: not a beginner "just water it and forget it" plant, but not a fussy specialist plant either. If you can grow tomatoes or dahlias successfully, calla lilies will feel very manageable.
Light and temperature: the two things that actually matter most
Calla lilies want full sun to partial shade. Outdoors, that means at least 6 hours of direct sunlight daily for the best flowering. In hotter climates (think zones 8 and above), they actually appreciate afternoon shade to keep from scorching. Indoors, put them in your brightest window, ideally south or west-facing.
Temperature is where things get nuanced. Callas prefer a range around 58 to 65°F for general growing, and expert cultivation guides target roughly 58 to 60°F as an ideal growing temperature. Here's what trips people up: too much heat during the early emergence phase can actively harm the plant and disrupt flowering. So if you're starting tubers indoors in late spring and your house is running at 80°F, that's not ideal. They also can't handle frost. If you're bringing potted callas indoors before the first frost, aim to keep them in a bright, cool location with temperatures between 55 and 65°F. Anywhere warmer than that year-round will prevent proper dormancy and eventually exhaust the plant.
Soil, planting depth, and the container vs. in-ground decision
Drainage is everything with callas. They want a rich, loose, well-draining mix. In the ground, amend heavy clay soil significantly with compost and coarse sand before planting. In containers, use a quality potting mix with added perlite, something that drains fast but still holds some moisture.
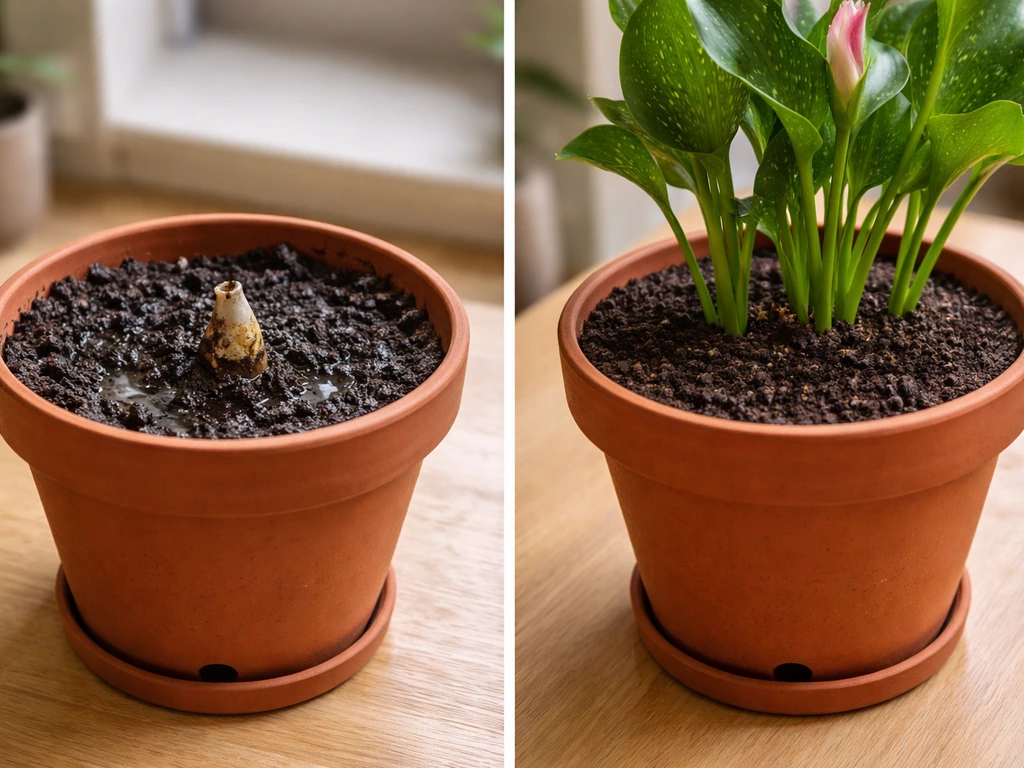
One thing many people don't realize: calla lily tubers produce their roots at the top of the tuber, not the bottom. That means you need to handle them carefully and plant them right-side up. Plant the tuber with about 1.5 inches (4 cm) of soil on top of it, so it's not too deep but is well covered. Planting too shallow leaves the roots exposed; planting too deep slows emergence and creates conditions for rot.
As for the container vs. in-ground debate, containers win in colder climates (zones 7 and below) because you can simply move them inside before frost. Where you grow calla lilies matters a lot: in warmer zones (8 and above), in-ground planting works beautifully and the plants may naturalize. In containers, make sure pots have adequate drainage holes and are large enough, at least 12 inches across, so the rhizome has room to spread.
Watering: the most common failure point
This is where most beginners lose their calla lilies. The risk isn't just overwatering in general but the pattern of watering. Extreme swings in moisture (soaking wet then bone dry, then soaking again) are a direct trigger for root rot and tuber rot. The key is consistency: keep the soil evenly moist during active growth, but never waterlogged. Stick your finger 2 inches into the soil. If it's damp, wait. If it's dry, water thoroughly.
The rot risk is real and well-documented. Soft rot caused by the bacterium Pectobacterium carotovorum attacks the rhizome directly, and the disease is directly linked to wet, poorly drained conditions. Phytophthora (a water mold) is another threat when soil stays saturated. If your rhizome turns mushy, soft, and foul-smelling, that's rot and it's usually fatal to that tuber.
Indoors, callas in pots dry out faster than in-ground plants, so check more frequently, especially in warm or dry indoor environments. Growing a calla lily inside is absolutely doable, but you'll need to stay on top of watering more than you would outdoors. During dormancy (which we'll get to), cut back watering dramatically and let the soil go mostly dry.
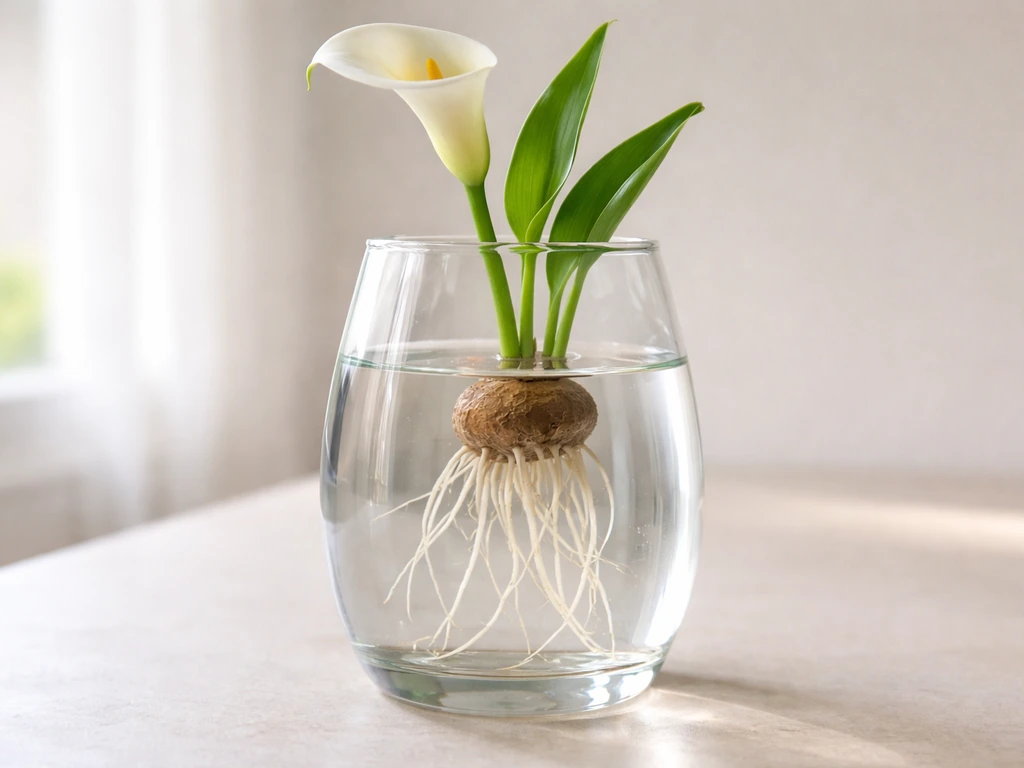
One specific situation worth mentioning: calla lilies are naturally adapted to seasonally wet habitats, and some gardeners successfully grow them in or near water. If you're curious about that approach, there's detailed guidance on whether calla lilies can grow in water, including the depths and conditions that work.
Feeding schedule and fixing common problems
Feeding
Calla lilies are moderate feeders. A balanced, slow-release fertilizer applied at planting time gives them a solid foundation. During active growth (spring through early summer), supplement with a liquid balanced fertilizer every 2 to 3 weeks. Once they start to go dormant and the foliage begins to die back, stop feeding entirely. Feeding a dormant plant is wasteful at best and damaging at worst.
Yellowing leaves
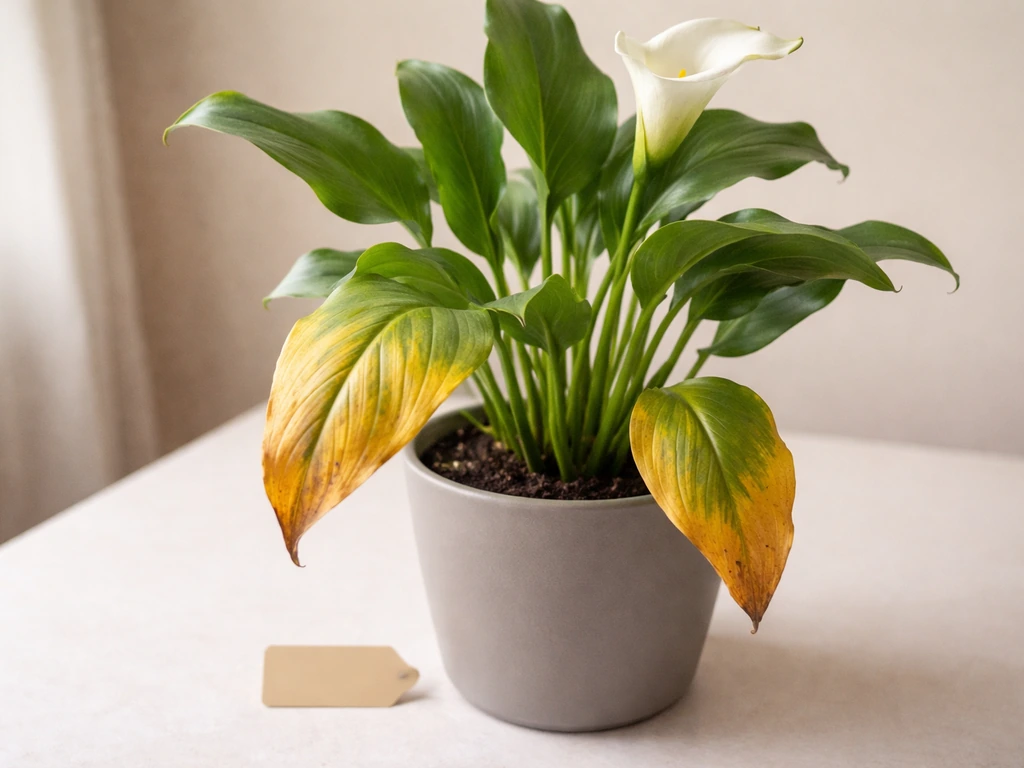
Yellow leaves are the most common complaint and they have several causes. If just the lower/older leaves are yellowing as the plant heads into dormancy, that's completely normal, don't panic. But if leaves are yellowing all over during the growing season, look at: overwatering or poor drainage (most likely), insufficient light, nitrogen deficiency (fix with balanced fertilizer), or root rot already in progress. Check the rhizome if you suspect rot: firm is healthy, soft and mushy is dead.
Poor flowering
If your calla leafed out well but never bloomed, the usual culprits are: not enough light (less than 6 hours), temperatures that were too warm during early growth, skipping the dormancy period (the plant needs a rest to recharge for blooming), or a tuber that was planted too deeply. Adjust accordingly for next season.
Pests
Callas aren't especially pest-prone, but keep an eye out for aphids, spider mites (more common on indoor plants in dry air), and thrips. A strong spray of water knocks aphids off. For spider mites indoors, increasing humidity and wiping leaves down regularly usually keeps them in check. Slugs and snails are a problem in outdoor beds, especially in wet weather. Use iron phosphate bait or diatomaceous earth around the base of plants.
Growing calla lilies outdoors: frost, dormancy, and overwintering
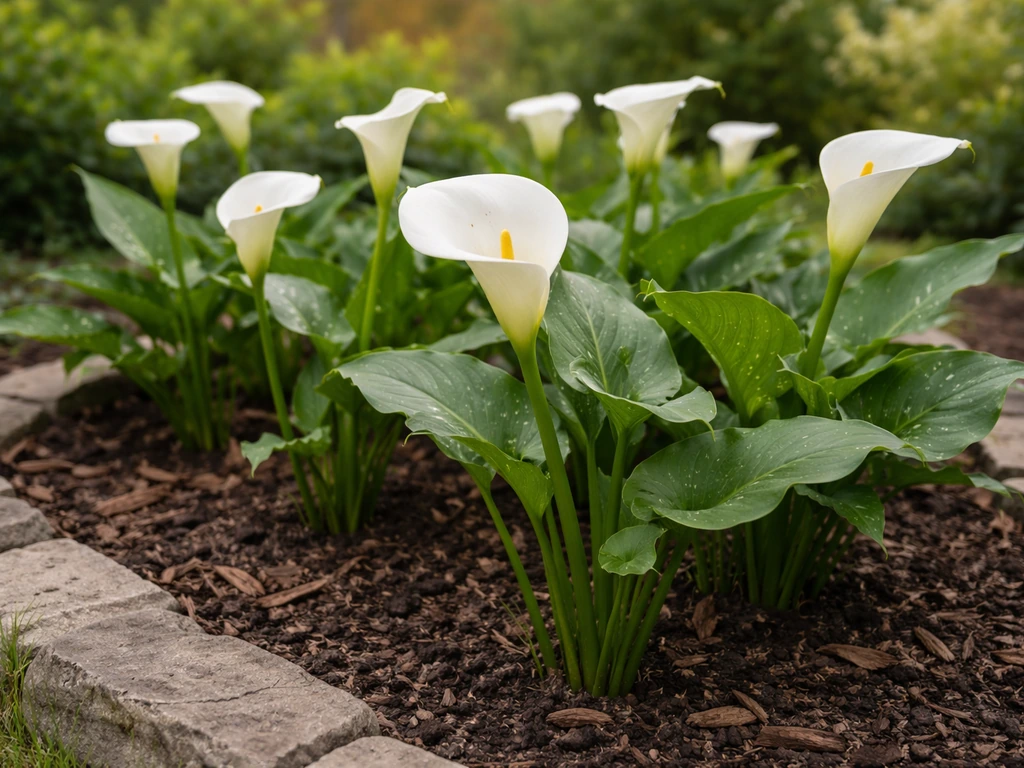
Calla lilies are winter-hardy outdoors in USDA zones 8 through 10. In those zones, you can leave them in the ground year-round and they'll come back reliably each spring. They go dormant during hot, dry summers (this is natural, tied to their native South African rainy/dry seasonal cycle) and again in cool winters. Let the foliage die back naturally during dormancy and reduce watering. Don't cut the leaves off early; they're feeding the tuber.
If you're in zones 7 and colder, you have two choices: grow in containers and bring them in, or dig the tubers and store them. Growing calla lilies outside in colder regions is very doable, but overwintering properly is the non-negotiable part. And if you're specifically weighing whether outdoor growing makes sense for your situation at all, there's a deeper look at whether calla lilies can grow outside depending on your climate.
How to overwinter calla lily tubers
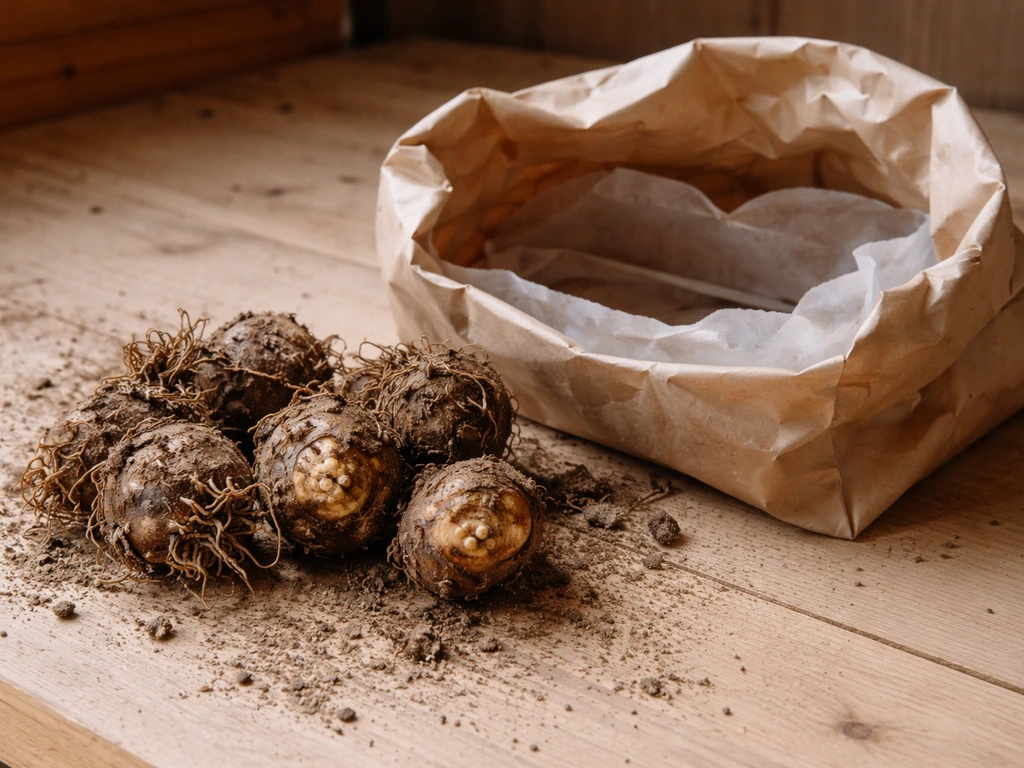
Dig tubers after the first frost kills the foliage, or a few weeks before your expected first frost if you want to be safe. Brush off excess soil (don't wash them), and let them dry in a warm location for about two weeks. This conditioning step is important: it toughens the outer skin and dramatically reduces rot risk in storage. After conditioning, store them in peat moss, dry sand, sawdust, or vermiculite at around 50°F, and make sure the room stays frost-free. A basement corner, unheated garage that stays above freezing, or a cool closet all work. Check them once a month during storage and discard any that turn soft or moldy.
There's also an interesting middle-ground option that some people overlook: if you have a suitable water feature, calla lilies can actually grow in ponds and boggy margins. The full breakdown on growing calla lilies in ponds explains the conditions and depths that work well for this approach.
Calla lily at a glance: quick comparison
| Factor | Calla Lily (Zantedeschia) | Peace Lily (Spathiphyllum) | Asiatic Lily (Lilium) |
|---|---|---|---|
| Light | Full sun to part shade (6+ hrs) | Low to medium indirect light | Full sun (6+ hrs) |
| Watering | Evenly moist, never soggy; dry during dormancy | Consistently moist; tolerates some neglect | Moderate; good drainage essential |
| Temperature | 58–65°F ideal; no frost tolerance | 65–85°F; frost sensitive | Hardy to zone 3; tolerates cold |
| Dormancy | Yes, required for repeat blooming | No true dormancy | Winter dormancy in ground |
| Rot risk | High if overwatered or drainage is poor | Moderate | Moderate |
| Difficulty | Intermediate | Easy | Easy to intermediate |
Your beginner plan: what to do starting today
If you're planting in spring (which is the right time in most of North America), here's a straightforward plan to follow from now through your first blooms.
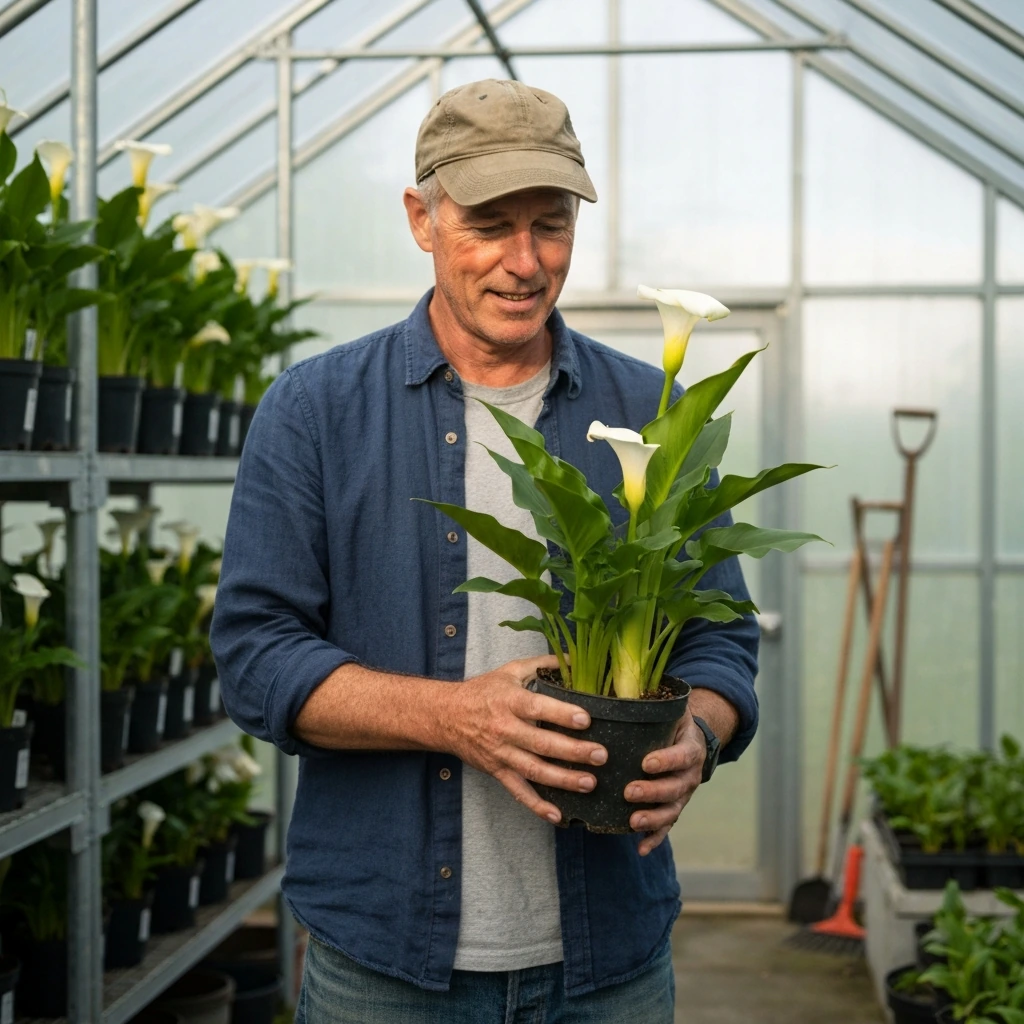
- Buy healthy tubers from a reputable nursery. Look for firm, plump tubers with no soft spots or mold. Bigger tubers generally mean more flowers.
- Prepare your spot or container. In the ground, work in plenty of compost and check that water doesn't pool after rain. In a container, use a well-draining potting mix with added perlite and make sure the pot has drainage holes.
- Plant with the growing side (the slightly rough, bumpy top) facing up. Cover with about 1.5 inches (4 cm) of soil. Don't go deeper.
- Water in gently after planting, then back off until you see sprouts emerging (usually 2 to 4 weeks). Overwatering during this pre-emergence phase is a top cause of rot.
- Once growth appears, water consistently to keep soil evenly moist. Begin liquid fertilizing every 2 to 3 weeks with a balanced fertilizer.
- Expect blooms roughly 8 to 16 weeks after planting, depending on your temperatures and variety.
- As summer winds down and foliage begins to yellow naturally, reduce watering and stop feeding. This is the beginning of dormancy, and it's a good thing.
- Before the first frost (for zones 7 and colder), dig and condition tubers as described above. Store at 50°F in peat or vermiculite until spring.
Troubleshooting checklist
If something isn't going right, run through this list before giving up.
- Tuber is soft or mushy: root rot, likely from overwatering or poor drainage. Discard the affected tuber and improve drainage before replanting.
- Leaves are yellowing during growing season: check drainage first, then light levels, then feeding. Soggy soil is the most likely cause.
- Plant leafed out but won't bloom: not enough light, temperatures too warm during emergence, or dormancy period was skipped last season.
- Foliage is dying back in late summer: this is normal dormancy, not a problem. Reduce water and wait.
- New growth is slow after planting: soil may be too cold (below 55°F) or you may have overwatered before emergence. Be patient and hold back on water.
- Leaves have sticky residue or tiny bugs: check for aphids or spider mites. Treat with water spray or insecticidal soap.
- Stored tubers went soft or moldy: they weren't dry enough before storage, or storage temperature was too high. Condition longer next time and keep storage around 50°F.
- Plant thriving but dropping leaves indoors in winter: it's entering dormancy. Move to a cool spot, cut back water, and let it rest until spring.
Calla lilies reward gardeners who take a little time to understand their rhythm: grow actively, bloom beautifully, rest, then do it all over again. Once you've seen them through one full cycle, the second year feels almost automatic. The biggest hurdle is unlearning the "just keep watering" instinct. Back off on water at the right times, give them good drainage and enough light, and these plants will surprise you with how reliably they perform.
FAQ
Are calla lilies hard to grow for a complete beginner?
They are not usually hard, but they are easy to kill if you follow the wrong watering style. If you are new, the safest approach is container growing with a fast-draining mix, because you can control drainage and water frequency more precisely than in heavy ground soil.
What is the biggest reason calla lilies fail, drainage or temperature?
Drainage is the most common failure point, because rot happens when the rhizome sits wet. Temperature matters too, especially avoiding very warm conditions during early emergence, but if your soil stays soggy even briefly, rot can still take over.
How often should I water calla lilies outdoors?
Instead of a set schedule, water only when the top portion of the mix dries slightly. A practical method is to check after hot, sunny days, if the top 2 inches are dry, water deeply, if it still feels damp, wait, this prevents the moisture swing that leads to rot.
Do calla lilies need to be watered more in bloom season?
Not necessarily. During active growth you want evenly moist soil, but during flowering you still should avoid waterlogging. If you notice leaves drooping with wet soil, that is often rot beginning, not a thirst problem.
Can I grow calla lilies in the shade or indoors with low light?
They usually will not bloom well in low light. Indoors, bright light is non-negotiable, if you cannot get at least about 6 hours of strong light equivalent, expect fewer or no flowers, and focus on getting them closer to a sunny window.
Why are my calla lilies growing leaves but not flowering?
The most common causes are insufficient light, too-warm conditions during early growth, missing dormancy, or planting the tuber too deep. A quick check is to verify the planting depth (about 1.5 inches of soil over the tuber), then confirm the plant actually went through a cool, rest period before expecting bloom.
How do I know if my calla lily rot is already happening?
Look for a tuber that feels soft, mushy, or foul-smelling. Yellowing during active growth can be a clue, but the most direct test is to gently inspect the rhizome or tuber if the plant declines despite correct light and drainage.
Is it okay to cut off yellow leaves right away?
It is usually better to leave foliage until it fully dies back naturally during dormancy. Cutting early removes the plant’s ability to recharge the tuber, which commonly leads to weaker growth or missing blooms next season.
Can calla lilies survive frost if I mulch them?
Mulch helps with temperature swings, but it does not reliably prevent frost damage. Calla lilies cannot handle frost, so in colder regions you should move potted plants indoors or dig and store tubers rather than relying on mulch alone.
How deep should I plant calla lily tubers or rhizomes?
For most spring planting, aim for about 4 cm (1.5 inches) of soil coverage on top. Because roots form at the top, planting too shallow can expose roots, and planting too deep can delay emergence and increase rot risk.
My house runs 75 to 80°F, can I start calla lilies indoors?
You can, but keep in mind that too much heat during early emergence can disrupt flowering. If possible, start them in a brighter, cooler spot (around the mid to high 50s to low 60s), or time indoor start so they do not spend too long in warm conditions before planting out or adjusting temperatures.
Do calla lilies need fertilizer during dormancy?
No. Stop feeding when foliage begins to die back and the plant enters dormancy, feeding at that stage is usually wasted and can worsen issues if the plant is staying too wet.
Can I grow calla lilies in water full-time?
It can work for some gardeners, but it is not the same as regular pot or bed care. If you try it, you must match the depth and conditions so the plant is not sitting in stagnant, oxygen-poor water, otherwise the rhizome can rot.
What size pot is best if I am growing calla lilies in containers?
Choose a pot that is at least about 12 inches across, larger if you want fewer repottings. A pot that is too small dries out quickly or restricts spread, both of which can stress the plant and reduce flowering.
Next Articles
Can Calla Lily Grow Outside? Outdoor Care by Climate
Yes, calla lilies can grow outside. Learn climate, light, soil drainage, planting timing, and fixes for no growth.
Can Calla Lilies Grow in Water? Step by Step Guide
Yes, calla lilies can grow in water. Follow steps for clean setups, oxygen, light, depth, and fixes for rot and yellow l
Where to Grow Calla Lilies: Best Climate, Light, Water
Find where calla lilies grow best, including ideal climate, light, watering, and indoor or outdoor setup for success.