In general, daylilies grow best outdoors in places that stay consistently moist but drain well, such as normal garden beds or raised spots where do daylilies grow. What kills them is prolonged saturation, where the crown and roots stay waterlogged and oxygen-starved. If you are trying to grow daylilies next to a bog, a pond, or in a low spot that holds water for days after rain, that is going to end badly.
If you just have heavy soil that drains slowly, that is a fixable problem.
What daylilies actually need: drainage, crown health, and root oxygen
Daylilies (Hemerocallis) are shallow-rooted perennials. According to Missouri Botanical Garden's daylily factsheet, the critical drainage zone is the upper 6 inches of soil, which is exactly where most of their root activity happens. That is not deep. It means that even if you have perfectly draining subsoil below, a compacted or waterlogged surface layer can still suffocate your plants.
The crown is the most vulnerable part of the whole plant. It sits at or just below the soil surface and connects the foliage to the root system. Both the University of Minnesota Extension and Purdue University Extension are consistent on this point: plant the crown no deeper than 1 inch below the soil surface. Go deeper than that and you are inviting rot, because moisture and heat build up around the crown and create exactly the anaerobic conditions that fungal and bacterial pathogens love.
Roots need oxygen to function. When soil is waterlogged, air pockets are replaced by water and the roots essentially drown. Stressed roots cannot take up nutrients, cannot support the foliage, and cannot fight off pathogens. This is why poor drainage is not just a comfort issue for daylilies, it is a survivability issue. The moment you eliminate oxygen from the root zone and keep it that way, the clock starts ticking.
Will daylilies grow in wet soil? Tolerance limits and failure modes
Daylilies can tolerate moderately moist soil, and in hot summers they actually appreciate consistent moisture. In a tropical climate, you still need to prioritize fast-draining soil so the roots do not remain waterlogged. The problem is not moisture, it is saturation that does not drain. Missouri Botanical Garden's factsheet specifically warns that allowing roots to stand in water for long periods will weaken the planting and thin it out over time. That is a polite way of saying your clumps will slowly fall apart and eventually die.
Here is how it typically goes wrong. You plant daylilies in a low spot or heavy soil, they look fine through the first season when things are dry, then a wet spring comes along. The soil stays soggy for two or three weeks, the crown stays wet, and by the time the foliage emerges it looks dull and slightly off. Then the wilting starts. Then the yellowing. By the time you realize something is seriously wrong, the rot has usually been progressing underground for weeks.
The pathogens involved are not exotic. The American Daylily Society identifies the main culprits as fungal rots including Fusarium, Phytophthora, Pythium, and Rhizoctonia, as well as bacterial soft rot caused by Erwinia. Most of these are common soil-borne organisms that are harmless in well-drained conditions but become aggressive when the plant is stressed and waterlogged. You are not fighting a disease so much as creating the conditions for an opportunistic infection.
The practical tolerance window
- Occasional standing water that drains within 24 to 48 hours: daylilies can usually handle this without lasting damage
- Consistently moist but never waterlogged soil: totally fine, actually preferred in summer heat
- Soil that stays saturated for 3 or more days at a time: high rot risk, especially during warm months when pathogens are active
- Standing water at any depth for more than a few days: do not plant daylilies here without serious drainage intervention
- Submerged roots (pond-edge or bog conditions): not viable for daylilies
Will daylilies grow in clay soil? Compaction, waterlogging, and fixes
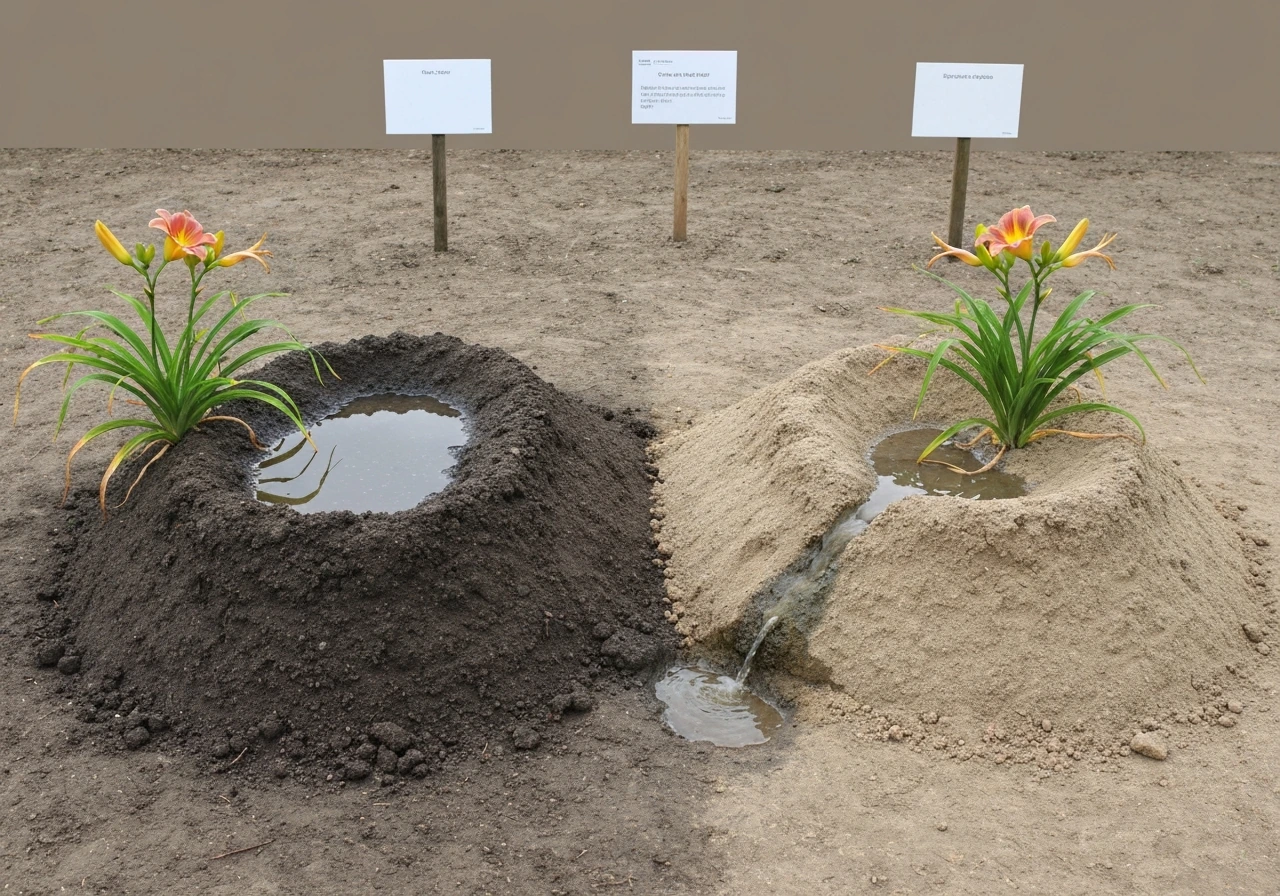
Clay soil is probably the most common reason home gardeners run into drainage problems with daylilies. Clay itself is not the enemy, but its two worst tendencies are: it compacts easily, which destroys the pore structure that roots need, and it drains slowly, which means the upper 6 inches stay wet long after rain stops. Together, these create exactly the conditions that kill daylily crowns.
I have grown daylilies in clay-heavy soil and it is absolutely doable, but you have to amend first and not after. Adding organic matter like compost (a 3 to 4 inch layer worked 8 to 10 inches deep) breaks up the clay structure, improves drainage, and adds the biological activity that keeps soil healthy. Grit or coarse sand added at a 1:1 ratio with compost can further improve drainage in very heavy clay. The mistake most people make is adding a thin layer of compost on top and hoping it helps. It does not. You need to physically change the texture of the zone where the roots will live.
Compacted clay is a separate problem from clay that just drains slowly. If your clay is compacted from foot traffic, machinery, or years of neglect, amending the surface will help but you may also need to break up the hardpan below. A broadfork or deep spading to 12 inches before planting makes a significant difference. Once daylilies are established, avoid walking through the bed, which will recompact the soil over time.
Clay vs other challenging soils at a glance
| Soil Type | Main Problem for Daylilies | Fix |
|---|
| Heavy clay | Slow drainage, compaction, waterlogging | Deep compost amendment, grit addition, raised beds if severe |
| Sandy soil | Dries too fast, low nutrients | Compost to improve water retention; consistent watering |
| Compacted subsoil | Water pools above hardpan | Broadfork or spade to 12 inches before planting |
| Waterlogged low spot | Roots stay saturated | Raised bed or drainage channel; choose a different site |
| Well-amended loam | None significant | Ideal; maintain organic matter annually |
How to make your site or container work today
If you are planting today, the single most important step is getting the crown depth right. Set the crown exactly 1 inch below the soil surface, not 2 inches, not at the surface. Both Purdue and UMN Extension are clear on this, and in my experience even half an inch too deep makes a meaningful difference in wet conditions. When you backfill, firm the soil gently around the roots but do not pack it, and make sure the crown area does not collect water in a depression.
In-ground planting in problem soil
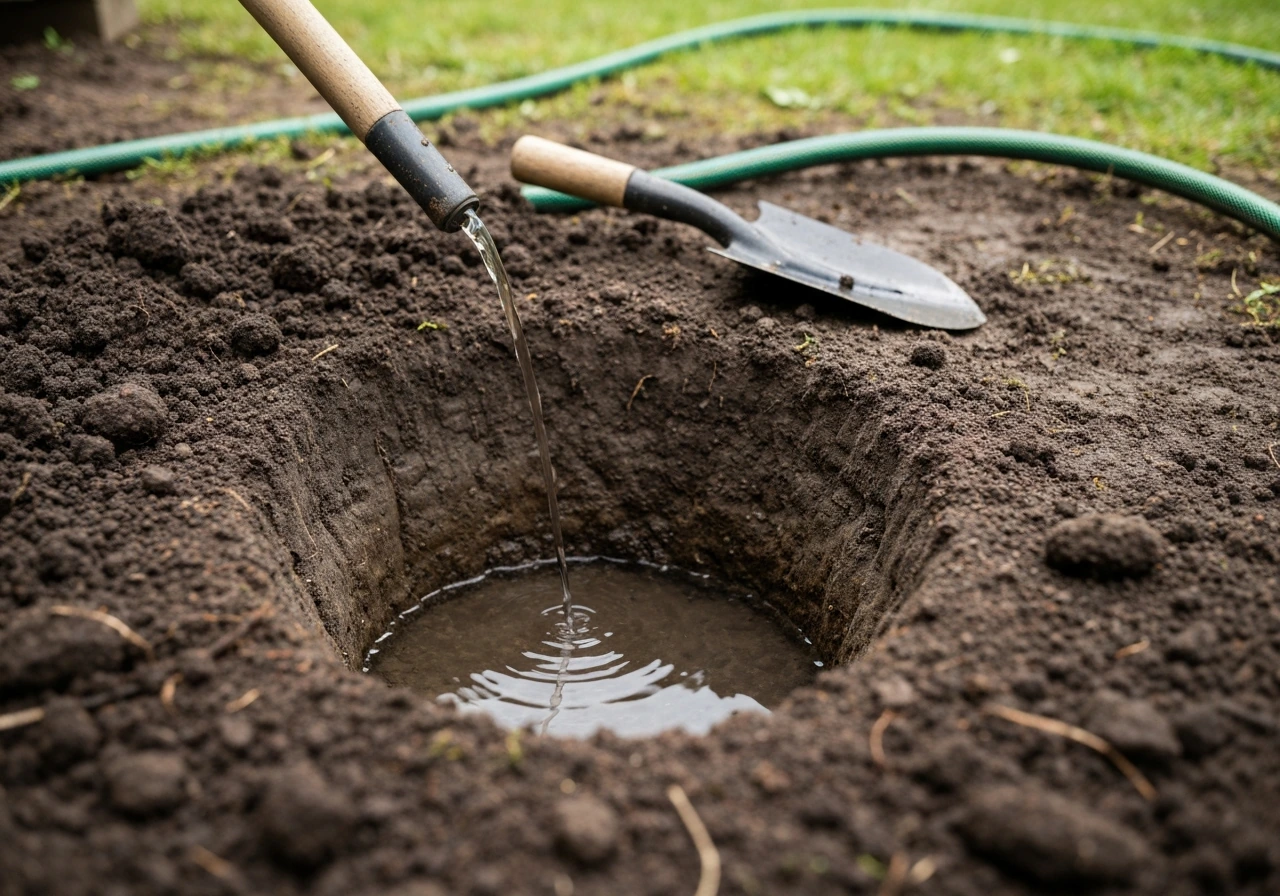
- Test drainage before planting: dig a hole 12 inches deep, fill it with water, and check if it drains within 1 to 2 hours. If it takes longer, you need to amend or raise the bed.
- Amend generously: mix 3 to 4 inches of compost into the top 10 inches of soil across the entire planting area, not just the planting hole.
- Build up if needed: if drainage is poor and you cannot fix it easily, raise the bed 6 to 8 inches above ground level using untreated wood, stone, or just mounded amended soil.
- Plant at the right depth: crown 1 inch below the soil surface, with roots spread naturally in the planting hole.
- Water in after planting, then let the soil dry slightly before watering again to encourage downward root growth rather than surface saturation.
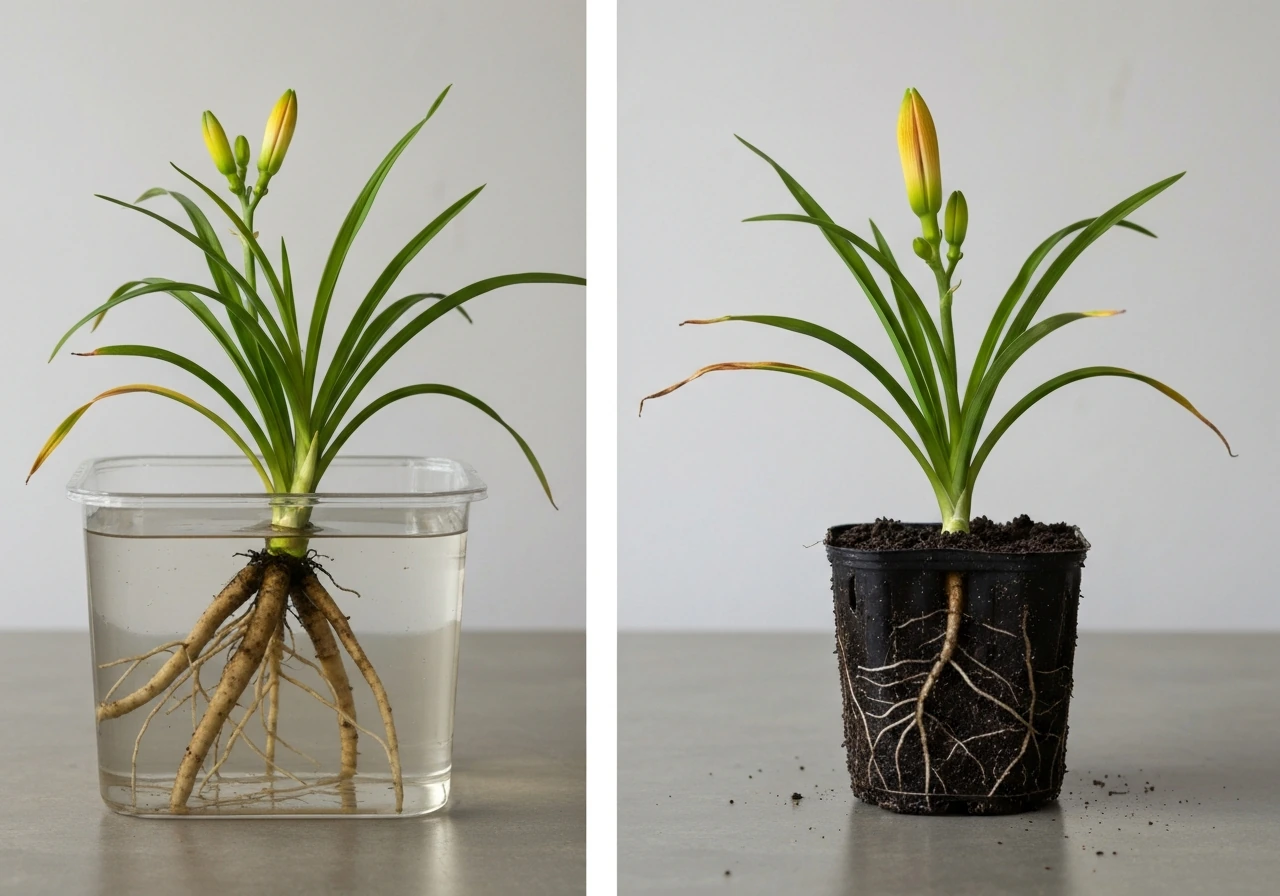
Container growing for wet climates or poor drainage sites
Containers are honestly a great solution if your in-ground drainage is terrible. Use a pot at least 12 to 14 inches deep and wide (daylilies spread and their roots need room), with multiple drainage holes at the bottom. Do not use a saucer that traps water. Fill with a mix of two parts quality potting soil and one part perlite. This gives you the moisture retention daylilies appreciate without the saturation risk. In containers, you control every variable, which makes it much easier to keep the crown dry. The tradeoff is that containers dry out faster in hot weather, so you will need to water more consistently from late spring through summer.
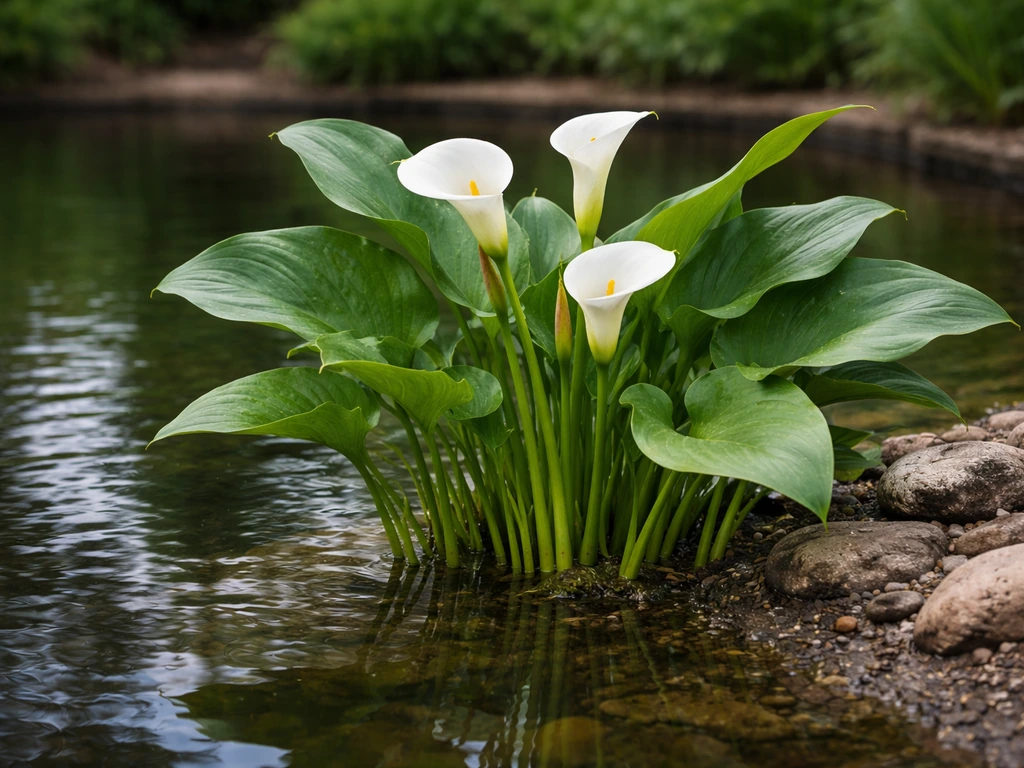
What about daylilies near water features?
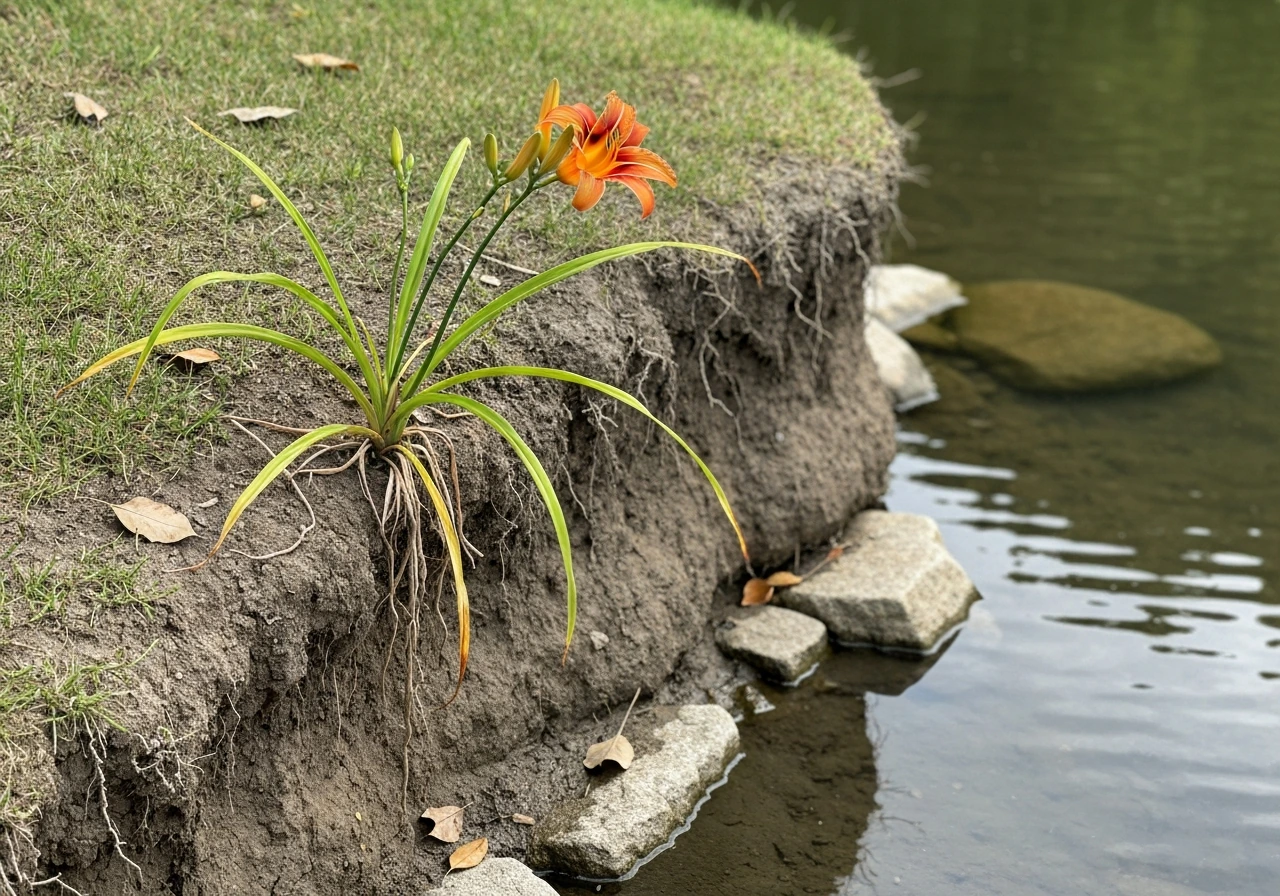
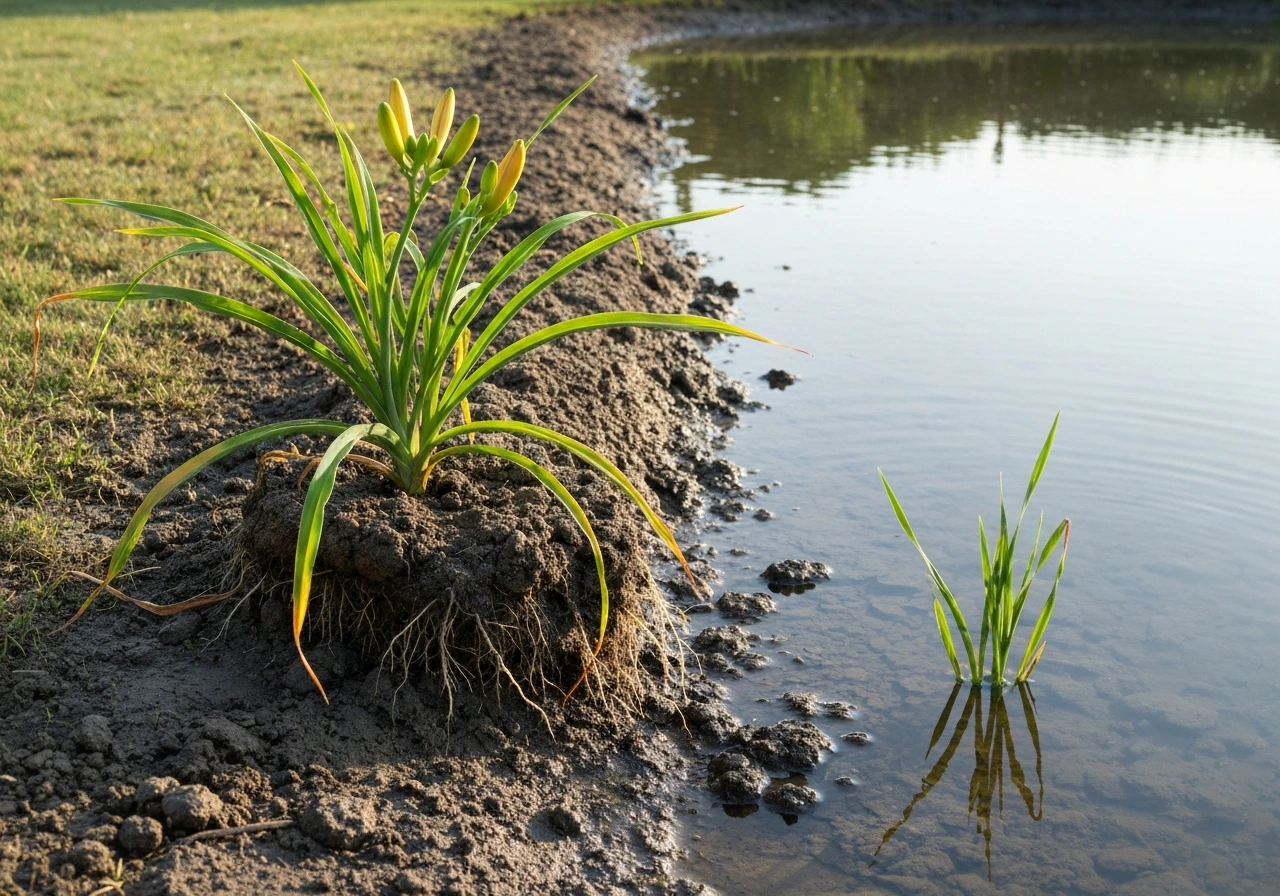
Daylilies can look stunning near ponds or streams, but the key is to plant them above the waterline on a slope or raised bank where their roots are never in contact with standing water. In Texas, the same rule applies: if you want daylilies instead of other wetland plants, avoid having their roots sit in standing water do calla lilies grow in texas. A position that gets splash or nearby moisture but drains freely is fine.
A position where the crown sits at or below the water table is not. If you are attracted to water garden aesthetics, it is worth knowing that water lilies (which are a completely different plant) are the right choice for in-water planting. Daylilies are strictly terrestrial.
Signs of rot or stress and what to do right now
The tricky thing about crown and root rot is that by the time you see obvious symptoms above ground, the damage below ground is already significant. According to UC IPM, the early warning signs are subtle: foliage that looks dull or slightly off-color, a lack of vigor that is hard to pinpoint.
UC IPM notes that dull-colored foliage or wilting followed by yellowing can be among the first aboveground symptoms of root and crown disease [foliage that looks dull or slightly off-color, a lack of vigor that is hard to pinpoint. ](https://ipm. ucanr. edu/PMG/GARDEN/FLOWERS/DISEASE/rootstemrot.
html). Then comes wilting that does not respond to watering, followed by yellowing. The American Daylily Society adds mushy tissue and eventually plant death to that progression. If your plant is wilting but the soil is wet, that is a red flag.
Healthy plants wilt when they need water. A wet-soil wilt almost always means root or crown damage.
- Stop watering immediately and let the soil dry as much as possible.
- Carefully dig up the plant and inspect the crown and roots. Healthy roots are firm and light-colored. Rotted roots are brown, black, mushy, or have a foul smell.
- Cut away all rotted tissue with clean, sharp scissors or a knife. Disinfect your tools between cuts with a 10% bleach solution.
- Let the cleaned plant dry in open air for a few hours before replanting.
- Replant in a new location or in a container with fresh, well-draining mix. Do not replant in the same waterlogged spot without fixing the drainage first.
- If the rot has reached the crown center and there is no firm tissue left, the plant cannot be saved. Dispose of it away from the garden to avoid spreading pathogens.
One thing worth checking: if multiple plants in the same bed are showing symptoms, the drainage problem is site-wide. Saving individual plants without fixing the underlying drainage will just repeat the cycle. That is the moment to consider raised beds, soil amendment across the entire area, or rethinking whether that spot is right for daylilies at all.
Quick reference: stress signals and what they mean
| Symptom | Likely Cause | Action |
|---|
| Dull, lackluster foliage with no growth | Early root/crown stress or rot | Check soil moisture; reduce watering; inspect roots |
| Wilting in wet soil | Root or crown rot reducing water uptake | Dig and inspect immediately |
| Yellowing leaves starting from base | Crown rot progressing upward | Dig, cut away rot, replant in better-draining site |
| Mushy crown tissue with odor | Bacterial soft rot (Erwinia) or advanced fungal rot | Remove and discard affected plant; do not compost |
| Slow decline over one or two seasons | Chronic waterlogging thinning the clump | Lift, divide, amend soil, replant at correct depth |
Daylilies are genuinely tough plants and will reward you if you give them the one thing they truly need: soil that drains. If you live in a tropical climate, make sure your daylilies still get fast-draining soil so the root zone does not stay saturated can lily grow in tropical climate. In the Philippines, aim for fast-draining soil and avoid any setup where the crown sits in water for long periods can lilies grow in the philippines.
Get that right and they are low-maintenance, long-lived, and almost impossible to stop. Get the drainage wrong and no amount of fertilizer, sunlight, or care will compensate. The good news is that drainage is almost always fixable, whether through amendment, raised beds, or containers, and the fixes do not take long to make a difference.