Yes, most garden lilies (Asiatic, Oriental, trumpet, and similar bulb types) can push right through a properly applied mulch layer. The key word is "properly." Keep mulch to 2–4 inches of a loose, light material like shredded bark or pine needles, and a healthy lily shoot will find its way up. Go thicker than that, pack it down tight, or use heavy wood chips that mat together, and you will stall or block emergence entirely. For non-bulb types like peace lilies and calla lilies, the situation is different and a lot less forgiving of heavy covering.
Can Lilies Grow Through Mulch? Depth and Fixes

Marcus Hendricks
23 May 2026
When lilies can and can't push through mulch
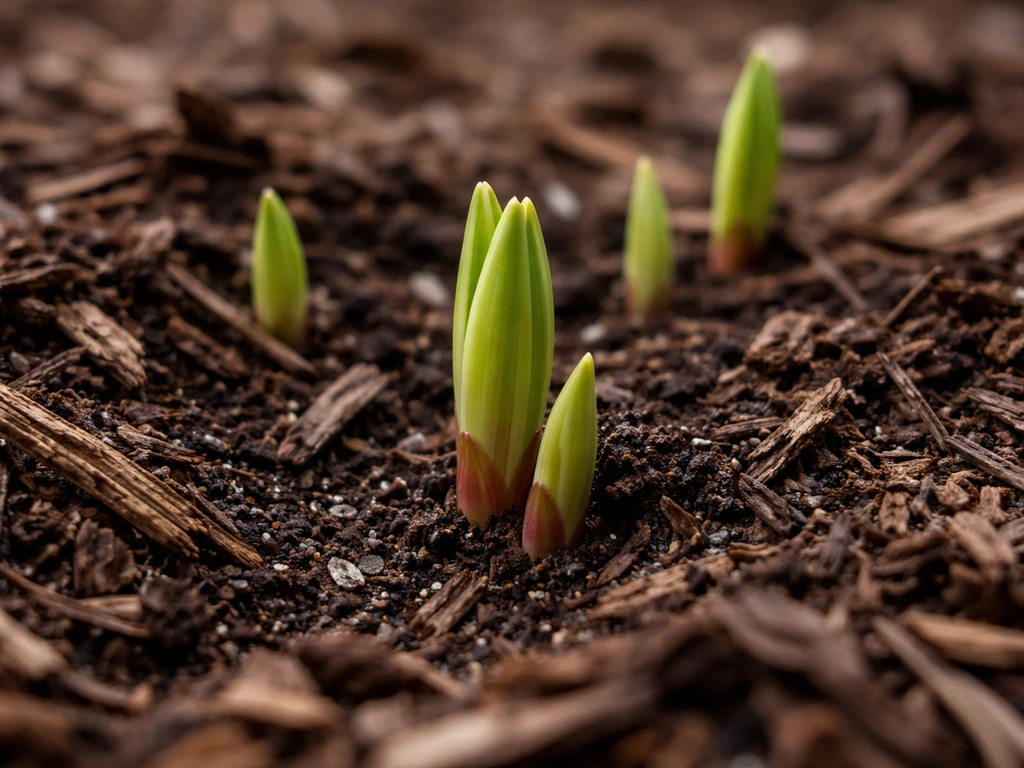
Hardy Lilium bulbs (Asiatic, Oriental, daylily, Easter lily, and similar outdoor bulb types) are surprisingly strong sprouters. A shoot coming up from a bulb planted 6–9 inches deep has already traveled a long way through soil before it even hits the mulch layer. An additional 2–3 inches of loose organic mulch is usually no problem at all. The shoot is thick, pointed, and built to push upward.
Where things go wrong is when mulch becomes a physical roof over the shoots. If you pile on 5 or 6 inches of mulch, use something that compacts into a dense mat (like wet shredded leaves or heavy wood chips packed together), or the mulch settles and crusts over the winter, the shoots can get bent, deformed, or completely blocked. A few days of being blocked will not kill a healthy shoot, but a couple of weeks of fighting through compacted material can exhaust the plant's stored energy and produce a weak, chlorotic stem or no stem at all.
The short version: 2–4 inches of loose mulch, yes. Anything deeper or anything that mats and crusts, risky.
How mulch type and thickness affect sprouting
Not all mulch behaves the same way. Some materials stay loose and airy all winter and allow shoots to slip through easily. Others compact, mat together, and form a barrier that even a determined lily shoot struggles to break. Here is how the common options stack up.
| Mulch Type | Ideal Depth | Compaction Risk | Shoot Emergence |
|---|---|---|---|
| Pine needles (pine straw) | 2–3 inches | Low | Excellent — stays loose and airy |
| Shredded bark | 2–3 inches | Low to medium | Good — drains well, moderate weight |
| Wood chips (larger) | 2–3 inches | Low | Good — stays loose if not over-applied |
| Shredded leaves | 2 inches or less | High when wet | Moderate — can mat and form a crust |
| Straw | 2–3 inches | Low when dry | Good — becomes heavy and dense when wet |
| Grass clippings | 1 inch max | Very high | Poor — mats quickly, blocks shoots |
| Bark nuggets (large) | 2 inches | Low | Good — but heavy chunks can physically pin shoots |
Pine needles are probably the best all-around option for lily beds. They stay loose through freeze-thaw cycles, drain fast, and a shoot can navigate through them with almost no resistance. Shredded leaves work well in fall but need monitoring in spring because they mat down over winter and can form an almost solid layer. If you used shredded leaves and forgot to loosen them before spring, do it before soil temperatures hit about 50°F and shoots start moving.
Timing your mulch: before or after shoots appear
Timing is honestly more important than mulch type. There are two distinct situations: mulching after fall planting, and managing that mulch in spring when shoots are about to emerge.
After you plant bulbs in fall, go ahead and apply 2–3 inches of mulch right away. This is mostly about temperature regulation and moisture retention through winter, not about blocking shoots (there are none yet). In colder climates like USDA zones 3–5, this layer also acts as insulation against hard freezes. SDSU Extension recommends exactly this approach for gardeners in harsh winter climates.
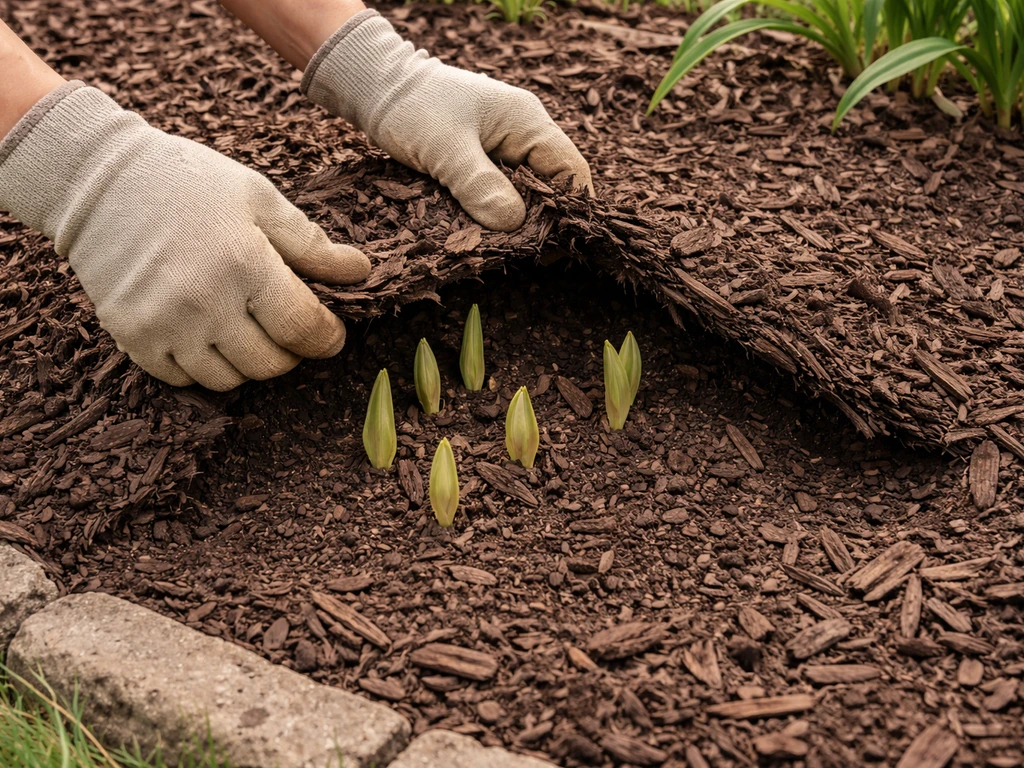
The critical timing decision comes in spring. As soil temperatures begin to warm, shoots are already starting to move underground. This is when the North American Lily Society's advice is really valuable: peek under the mulch periodically in late winter and early spring rather than just pulling it all off at once. If you see shoots pressing against the mulch layer from below, that is your cue to thin or loosen the covering immediately. Eden Brothers specifically advises spreading mulch back as lily stalks emerge, meaning you do not leave your full winter layer packed down once spring growth begins.
One note from the North American Lily Society that I find genuinely useful: do not rush to remove all the mulch in early spring. Leaving it a bit longer helps prevent an early warm spell from triggering premature emergence, which then gets nipped by a late frost. Thin it, do not eliminate it, until you are past your last frost date.
It matters a lot which "lily" you are growing
This is where a lot of gardeners get tripped up, because "lily" gets applied to plants that are extremely different from each other. The mulch rules for true Lilium bulbs (Asiatic, Oriental, trumpet, Easter) do not translate directly to peace lilies, calla lilies, or canna lilies. Canna lilies are different from true Lilium bulbs, so they may not “grow back” the same way after being buried under mulch.
True garden lilies (Lilium bulbs)
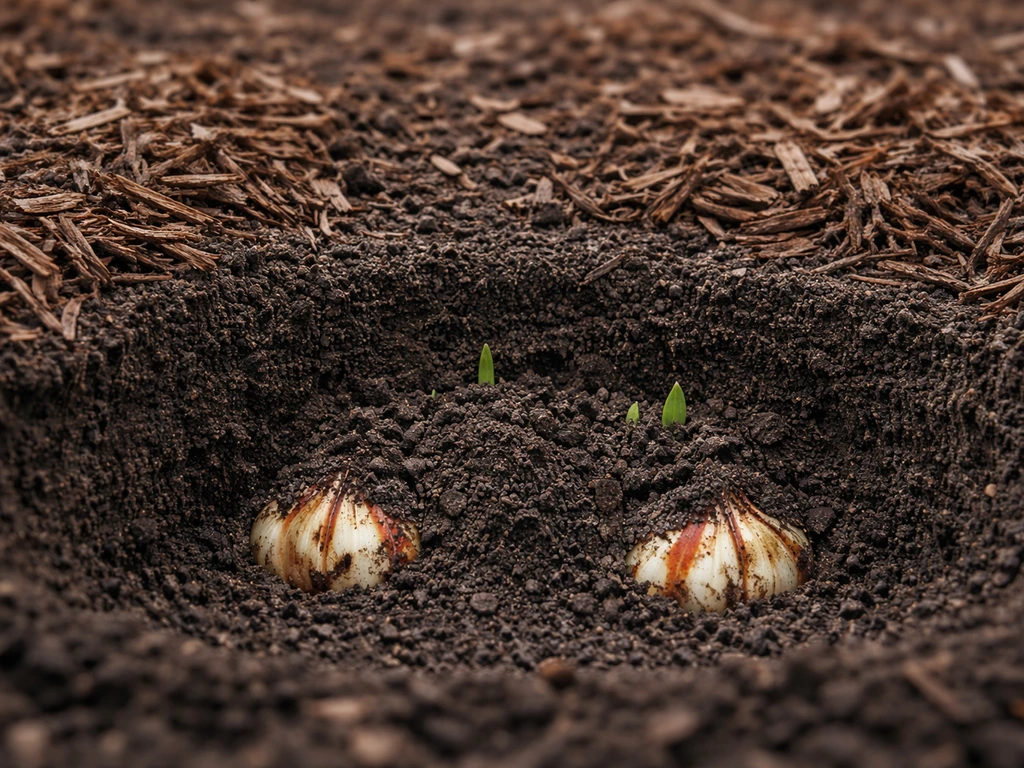
These are planted 6–9 inches deep (NC State suggests 4–6 inches depending on the species). Their shoots have significant travel distance before reaching mulch, and they are designed to push through resistance. A 2–4 inch loose mulch layer is appropriate and beneficial for moisture and temperature regulation. These are the lilies where the standard mulch advice applies most directly.
Calla lilies (Zantedeschia)
Calla lily rhizomes are planted only 1–2 inches deep in containers and about 2 inches deep in garden beds. Iowa State University Extension also advises planting calla lily rhizomes shallowly in pots before moving them outdoors [calla lily rhizomes are planted only 1–2 inches deep in containers](https://yardandgarden. extension. iastate.
edu/faq/when-can-i-start-calla-lilies-indoors). That is shallower than many gardeners realize. With that little soil above the rhizome, even a 2-inch mulch layer is a meaningful barrier. Because calla lily rhizomes are planted very shallowly, they can cut through a small amount of covering during growth but they cannot push through heavy mulch can cut lilies grow roots.
Keep mulch to about 1 inch over calla lily beds and use a very loose material. These are much more sensitive to crown covering than hardy Lilium types.
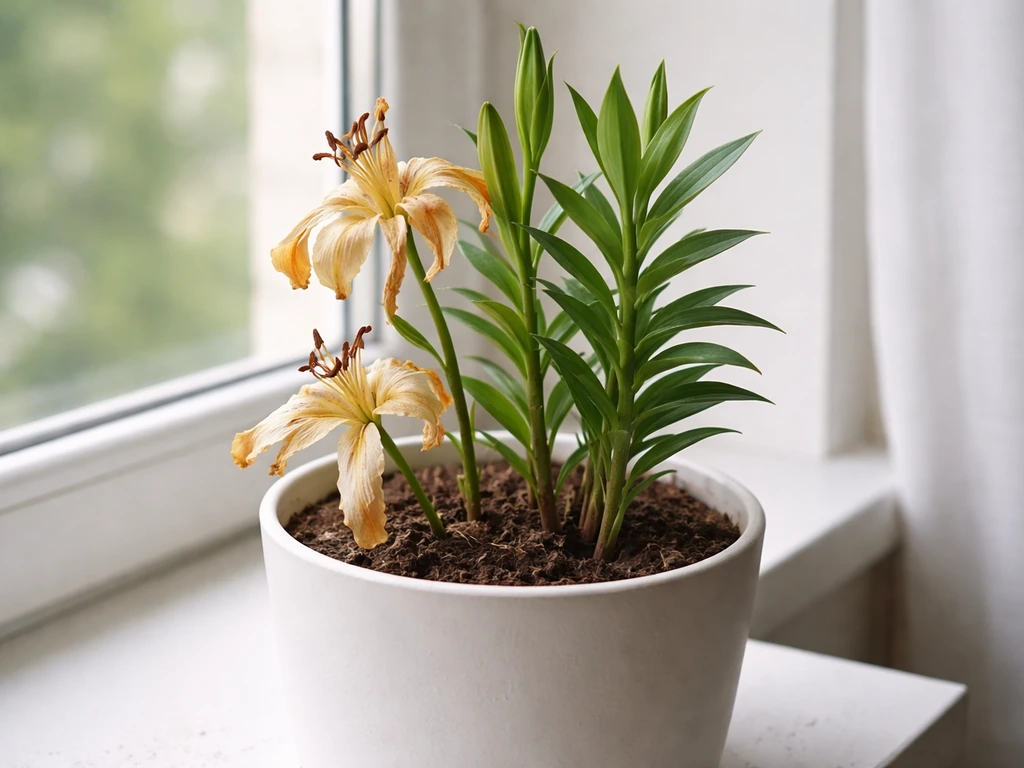
Peace lilies (Spathiphyllum)
Peace lilies are indoor plants in almost all climates, and the mulch question does not really apply to them the way it does to outdoor bulbs. What does apply is the principle behind it: the crown (where the leaves meet the roots) should sit at soil level, not buried under any significant covering. If you are potting or repotting a peace lily and you pack extra soil or bark over the crown, you will get rot. So the spirit of "do not block the growing point" applies here, but mulching a peace lily bed the way you would a Lilium bed is not a scenario most gardeners will encounter.
Daylilies (Hemerocallis)
Daylilies are among the most forgiving plants you can grow, and that extends to mulch. Their crowns sit just below or at the soil surface, and their strappy foliage pushes up reliably through light mulch. Use 2 inches of loose mulch and they will handle it without issue. Going much deeper around daylily crowns can lead to crown rot, especially in wet climates.
How to apply mulch without blocking your lily shoots
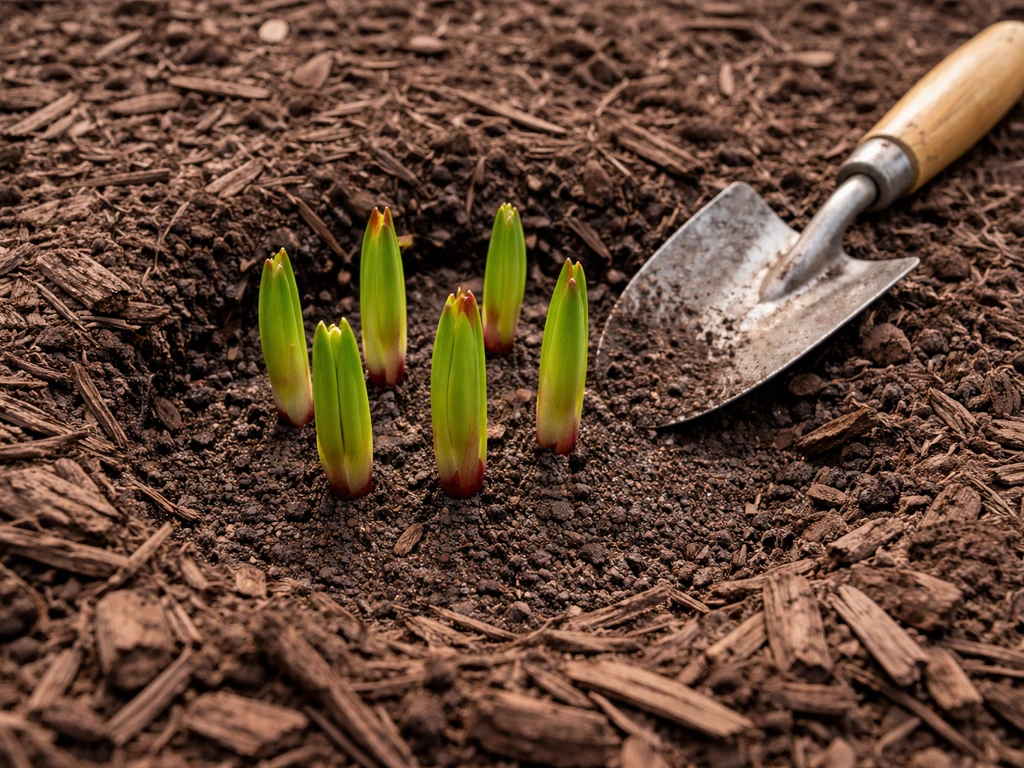
Here is the step-by-step process I use for both newly planted bulbs and established lily beds. It takes maybe 20 minutes per bed and prevents most of the emergence problems gardeners run into.
- Plant bulbs at the correct depth first. For true Lilium, that is 4–9 inches depending on bulb size (a good rule of thumb: twice the bulb's diameter). Depth errors cannot be fixed by adjusting mulch later.
- After fall planting, apply 2–3 inches of loose organic mulch like shredded bark or pine needles over the entire bed. Spread it evenly and avoid pressing it down. Leave the mulch light and fluffy.
- In late winter, start checking under the mulch every 1–2 weeks once your soil temperature approaches 40–45°F. You can lift a corner of the mulch layer to look for shoot tips pressing upward.
- When you see the first shoots touching the mulch from below, pull the mulch back gently. Do not remove it entirely if frost risk remains. Thin it to about 1 inch or push it to the sides of the bed rather than directly over the shoot zone.
- Once shoots are visibly above the soil, you can add a light 1–2 inch layer back around (not on top of) the stems to maintain moisture and suppress weeds through the growing season.
- Avoid mounding mulch against lily stems at any point. Always leave a gap of a few inches around each stem. This prevents rot at the stem base, which is a separate problem from emergence but equally damaging.
One practical shortcut: if you have a large bed with many bulbs and you cannot check every shoot individually, just thin the overall mulch layer to 1 inch in early spring as a precaution. The temperature-regulation benefit you lose is minor compared to the cost of blocking emergence.
Troubleshooting when lilies do not emerge through mulch
If it is past your expected emergence window and you are not seeing any shoots, mulch depth is only one of several possible causes. Work through these before concluding the bulbs are dead.
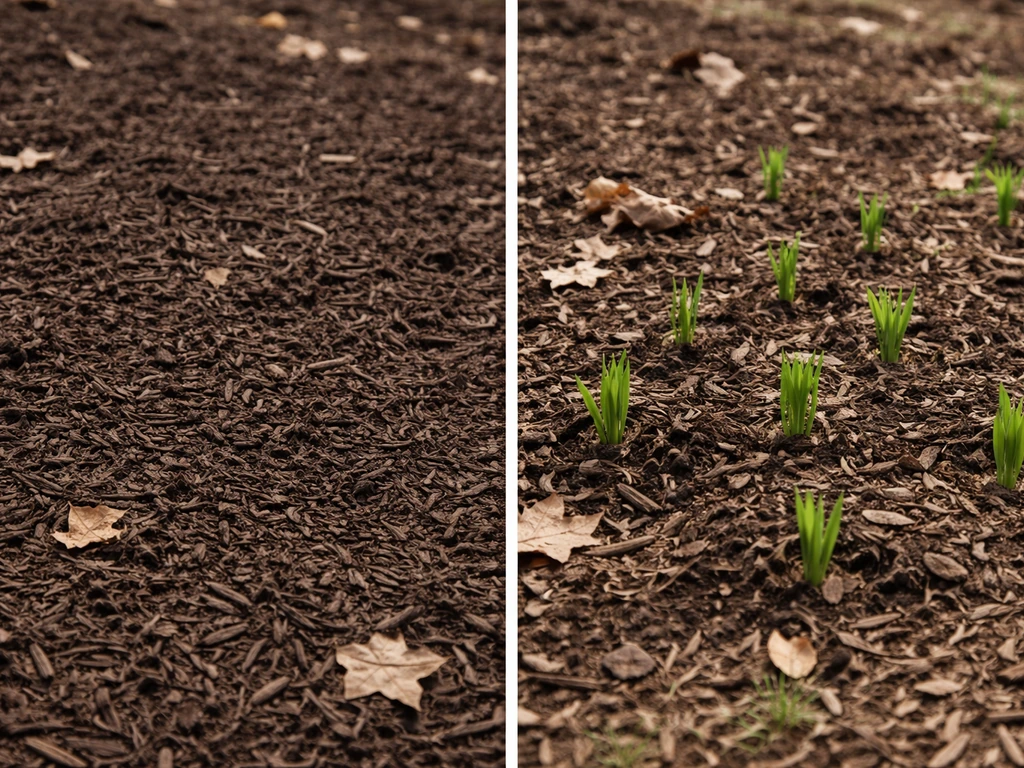
- Check the mulch first: pull it back and look at the soil surface. Are there pale, bent, or yellowish shoots just below the surface that could not punch through? If yes, clear the mulch gently and those shoots should green up within a few days of light exposure.
- Check for matting or crusting: shredded leaves especially can form an almost paper-like layer when wet and then dried. Break through it with your fingers and see if there is resistance. If the layer peels off in sheets, it was acting as a physical barrier.
- Check planting depth: if you are not seeing any shoot activity at the soil surface at all, dig down carefully near where a bulb should be. If the bulb was planted too deep (more than 9 inches for most types), shoots may not have enough stored energy to reach the surface.
- Check soil temperature: lily bulbs need soil temperatures of roughly 40–50°F to begin active shoot movement. If your soil is still very cold, emergence may just be delayed. A cheap soil thermometer is worth having.
- Check moisture: UCANR notes that lilies need consistent moisture. Soil that dried out hard over winter can produce delayed or weak emergence even if the bulb is alive. Water the bed gently and wait another week or two.
- Check for rot: if you dig down and find a soft, mushy bulb, that is rot, most often caused by poor drainage rather than mulch issues. The North American Lily Society emphasizes perfect drainage as a non-negotiable for bulb health.
- Check for rodent damage: the North American Lily Society specifically mentions mice as a problem in mulched beds. If you find hollowed-out or nibbled bulbs, that is an animal problem, not a mulch problem.
If shoots are present but pale and weak even after mulch removal, give them full sun exposure and a dilute balanced fertilizer. They should recover within 2–3 weeks if the bulb itself is healthy. If there is truly no shoot activity and the bulb is firm but dormant, be patient. Some lily varieties are genuinely late to emerge, especially in cooler climates or following an unusually cold winter.
Setting yourself up better next season
If you had emergence problems this year, there are a few adjustments worth making before next fall to prevent a repeat.
Revisit your planting depth. If bulbs were placed at less than 4 inches, they are vulnerable to frost and may struggle with any mulch layer at all. If they were deeper than 9 inches, shoots may not have the energy to reach the surface. The sweet spot for most Asiatic and Oriental lilies is 6–8 inches. For calla lily rhizomes, stick to 1–2 inches depth in a container or 2 inches in-ground, and adjust your mulch expectations accordingly since calla types simply cannot push through as much material as a true Lilium.
Consider spacing while you are at it. Crowded bulbs compete for nutrients and produce weaker shoots that are more easily blocked by mulch. Give Lilium bulbs at least 8–12 inches between them. Better-nourished bulbs produce stronger, faster-moving shoots that push through mulch more reliably.
For your mulch strategy going forward: choose a material that stays loose (pine needles or shredded bark over shredded leaves), apply it in fall at 2–3 inches, and commit to checking under it in late winter every couple of weeks. Mark your calendar for mid-February or early March depending on your zone. That peek-under habit is the single biggest change most gardeners can make to avoid spring emergence problems.
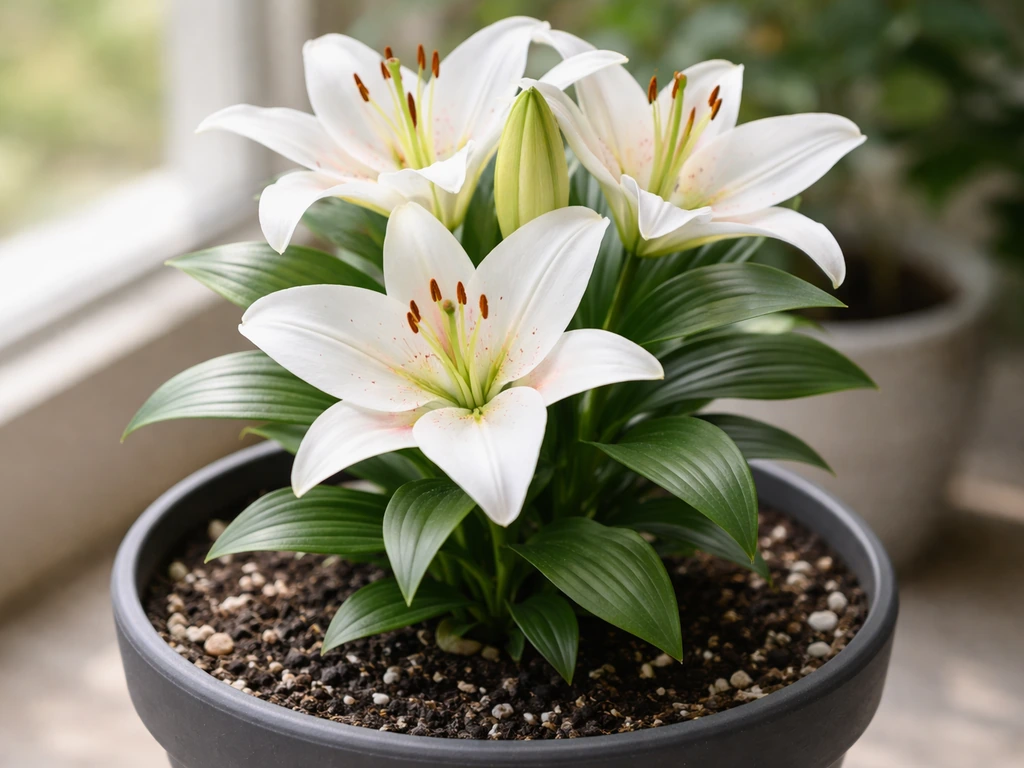
If you are growing lilies in containers (which is worth considering for calla, canna, and even Asiatic types in shorter seasons), the mulch dynamic shifts completely. If you are trying to can you grow lilies in a pot, focus on planting depth, a loose top dressing, and checking early in spring so shoots do not get blocked lilies in containers.
You can also use these container ideas when figuring out can lilies grow in pots without blocking new shoots lilies in containers. Container plants warm up faster than in-ground beds, so emergence is usually earlier and mulch is less necessary for winter insulation. A light 1-inch layer of bark mulch on top of a container is usually plenty, and for calla rhizomes in pots it is better to skip mulch entirely and just maintain consistent moisture.
You can apply the same container logic when planning whether can you grow peruvian lily in pots, since pot culture changes both warmth and how much covering is safe. If you are wondering will lilies grow back in pots, the same ideas about timing and not covering the growing point apply, but container conditions matter.
FAQ
What mulch depth is safest if I cannot identify my lily variety with certainty?
If you are unsure it is a true Lilium, default to a conservative approach and keep mulch around 1 inch until you confirm what is growing. That reduces the risk of physically blocking shoots or burying a shallower crown, while still offering some moisture and temperature buffering. Once you identify whether it is Asiatic/Oriental/trumpet versus a shallow rhizome type, you can adjust next season.
Should I pull all the mulch off when I see the first shoots?
Usually no. Instead, loosen or thin the layer immediately at shoot level so the material does not stay packed against the emerging stalk. Then leave a reduced amount in place until after your last frost date, since removing everything at once can trigger early growth that a late cold snap can damage.
If my mulch crusted over winter, can I fix it without disturbing the bulbs?
Yes. In early spring, lightly rake or fluff the top 1 to 2 inches of the mulch rather than digging. The goal is to break up mats and restore air spaces so shoots can navigate upward, because compacted crusts behave like a barrier. Avoid digging near planting spots, as lilies do not appreciate root or bulb disturbance during emergence.
Will wet, matted leaf mulch be more dangerous than dry mulch?
Yes. Wet leaves and some chopped materials compact into a dense mat, especially after freeze thaw cycles, which increases the chance of bent or blocked stems. If you used shredded leaves, loosen them in late winter before soil temperatures climb and growth ramps up.
Can lilies grow through landscape fabric or plastic mulch?
True lilies typically cannot, because shoots need a loose medium they can push through. If fabric or plastic is already down, you generally need to remove or open sections over each planting pocket before spring emergence. Otherwise, the lily may stall even if it is otherwise healthy.
How do I tell if the issue is mulch depth versus planting depth?
Check timing and vigor. If no shoots appear by the time neighbors’ lilies are clearly up, planting depth may be too shallow (frost injury) or too deep (energy depletion). If you see shoots but they look deformed or pale, that often points to shoots fighting through a resistant mulch layer. After you thin mulch, healthy shoots should usually resume normal growth within a couple of weeks.
What should I do if I thinned the mulch and shoots still look pale and weak?
Make sure they are getting full sun exposure and feed lightly with a dilute balanced fertilizer once you have active growth. Pale, weak stems can be a sign of stress from delayed emergence, but they can recover when conditions improve. If there is still no movement after the expected window, be more patient and rule out cold injury or incorrect planting depth.
Is there a different mulch plan for lilies in containers versus in-ground beds?
Yes. Containers warm earlier and often need less winter covering, so a heavy mulch layer can be counterproductive. Use only a light top dressing, around 1 inch of loose bark, and check sooner in spring because emergence will happen earlier than in ground beds.
Can daylilies be mulched deeper than 2 inches?
They can tolerate some mulch, but going much deeper around the crown increases the risk of crown rot, especially in wet climates. A safer target is about 2 inches of loose mulch. Keep the crown area from staying continuously saturated, since rot is more about moisture and covering at the crown than about mulch in general.
Should I mulch right after fall planting everywhere, even in mild winters?
In milder climates, you may not need the full insulating thickness right away. The principle is the same, keep mulch loose and modest (2 to 3 inches is typical), but avoid piling on extra depth if freezing is minimal. Overdoing thickness in warm or wet winters can raise the risk of a lingering, damp environment around developing bulbs.
Next Articles

Can You Grow Peruvian Lily in Pots? Container Guide
Learn if you can grow Peruvian lily in pots and get step-by-step container care for blooms, light, soil, watering, and o
Do Indoor Lily Plants Grow Back? Care, Types, and Fixes
Learn if indoor lilies regrow and what to do after bloom, including true lily vs peace or calla care fixes.
Will Lilies Grow Back in Pots? Care Tips to Recharge Bulbs
Learn if lilies regrow in pots, how bulbs recharge after bloom, plus step-by-step care and fixes for non-returning plant